5 SOFTWARE DEVELOPMENT SYSTEMS FOR GD32VF103 MCU
The Endrich IoT Board is a single board computer (SBC) based on RISC-V platform GigaDevice’s GD32VF103 MCU family. There are number of software development systems offering support for GD32 RISC-V technology, GigaDevice also cooperates with Nuclei System Technology and other third-party vendors to provide various integrated development environments (IDEs). This allows users to choose the best suiting development tool. Systems like Nuclei Studio, IoT Studio, SEGGER Embedded Studio, or IAR Embedded Workbench are software with years of experience on embedded development.
In this manual however we decided to promote the development using some well known and widely used free tools. We detailed introduce how to use Misrosoft Visual Studio Code based development on the PlatformIO IDE extenson for VSCode. PlatformIO is a cross-platform, cross-architecture, multiple framework, professional tool for embedded systems engineers and for software developers who write applications for embedded products. All our sample codes are written and tested in this IDE.
As an interesting subject we show how to use the very well know and widely used ARDUINO IDE for GD32VF103 MCU development.
5.1 MS Visual Studio Code
Visual Studio Code is a lightweight but powerful source code editor which runs on your desktop and is available for Windows, macOS and Linux. It comes with built-in support for JavaScript, TypeScript and Node.js and has a rich ecosystem of extensions for other languages (such as C++, C#, Java, Python, PHP, Go) and runtimes (such as .NET and Unity). VS Code is free, built on open source technology and available for several operating systems such as Microsoft Windows, Linux (Debian, Ubuntu, Red Hat, Fedora, SUSE) and macOS.
5.2 PlatformIO

The main problem which people from the embedded world meet is a complicated process to setup development software for a specific MCU. Problems of having the right toolchains, a must to use manufacturers proprietary development tools may cause huge delays and difficulties to start development. Multiple hardware platforms (MCUs, boards) require different toolchains, IDEs, and forcing developers to invest time on learning new development environments. Finding the proper libraries and code samples showing how to interface sensors to the MCU is an additional time factor.
The native PlatformIO IDE extension for Microsoft VSCode editor is one of the most rated/reviewed extension in the whole Microsoft Marketplace. It also was installed by over 750,000 unique developers around the world. This system offers an easy solution for above problems, as the user can define the MCU platform in a project configuration file “paltformio.ini”. Based on the selected board, PlatformIO downloads required toolchains and installs them automatically. Users develop code and PlatformIO makes sure that it is compiled, prepared and uploaded to all the boards of interest. Example code for any supported framework can be compiled and uploaded to a target platform in minutes. The build system structure automatically tags software dependencies and applies them. Developers no longer have to manually find and assemble an environment of toolchains, compilers, and library dependencies to develop applications for a specific target board. With PlatformIO, clicking the compile button will bring in all necessary dependencies automatically.
5.3 Installing MS VS Code and PlatformIO IDE
The following section gives a step-by-stop guide to install MS-VSCode and PlatformIO IDE to a Windows computer. We do not show how to install them to LINUX or macOS, but the method should be self explanatory based on this description.
Please download Visual Studio Code from the following link : Download
(Select MS-Windows 32 or 64 bit architecture according to your PC’s microprocessor)
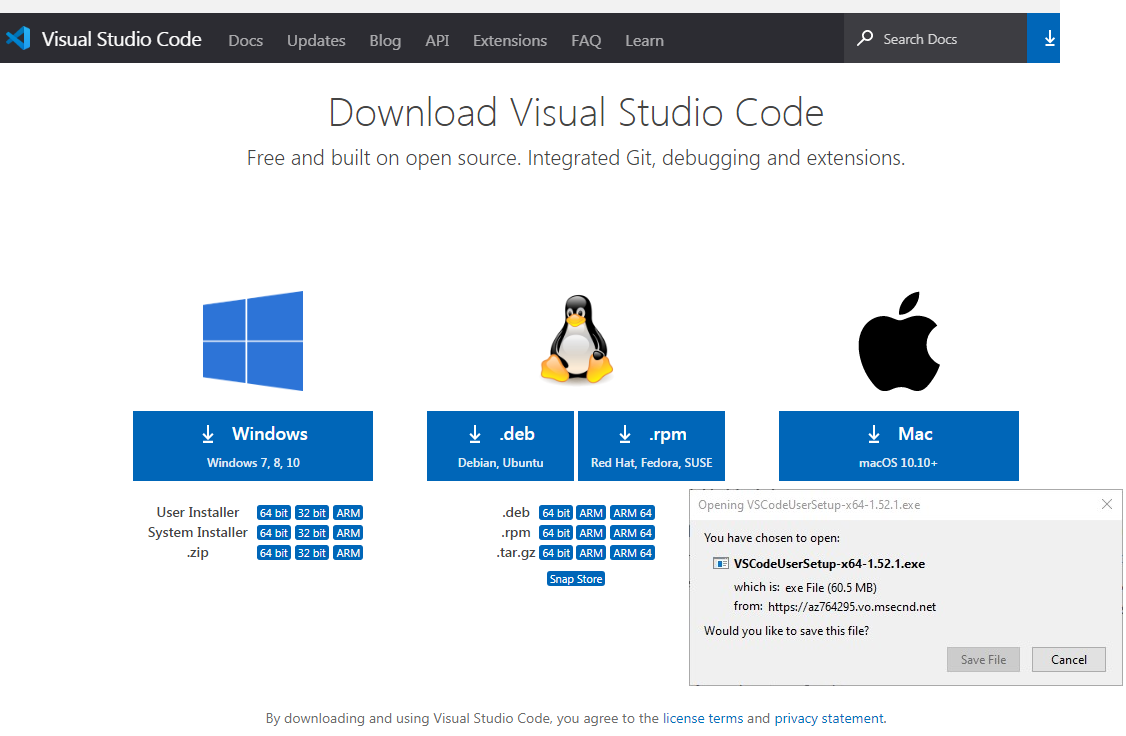
Save and run the installer file VSCodeUserSetup-xXX**.exe
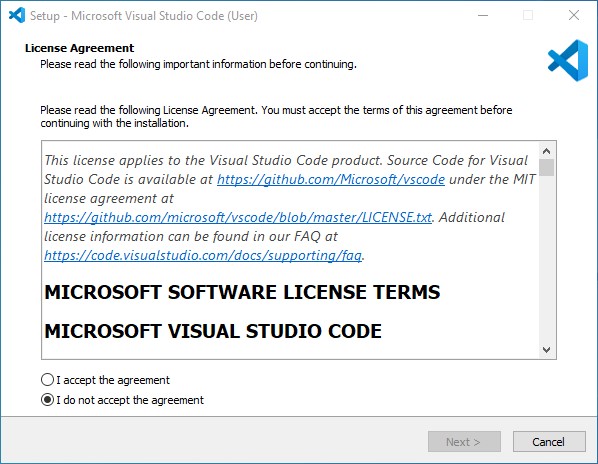
Accept the User Agreement and click to NEXT
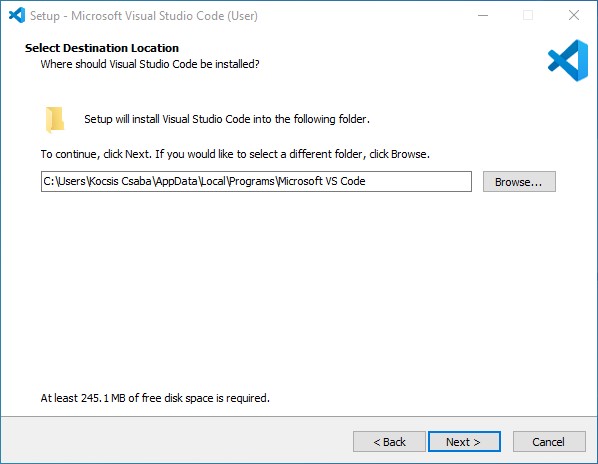
Click to Next
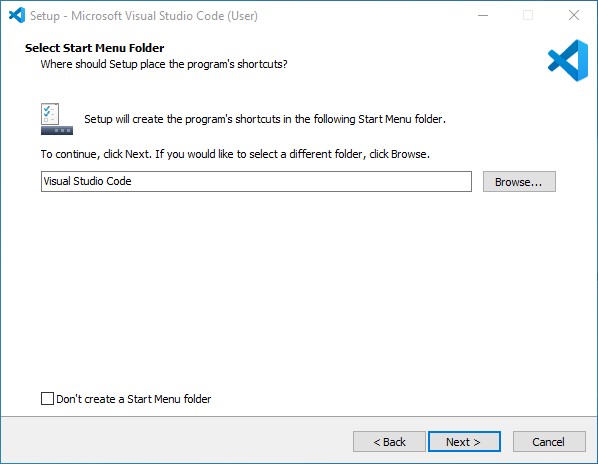
Click to Next

Click to Next
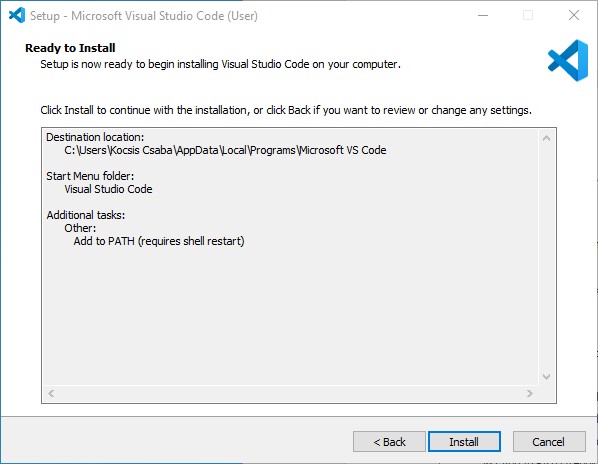
Click to INSTALL
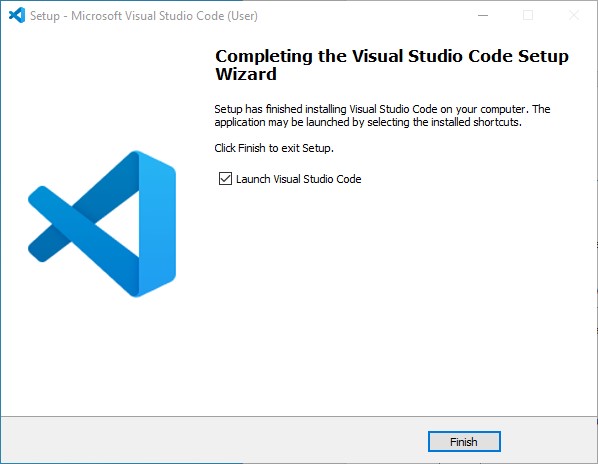
Click to Finish, now VS Code has been installed to your computer.

The next step is to install PlatformIO on top of it. For doing this please run Microsoft Visual Studio Code.
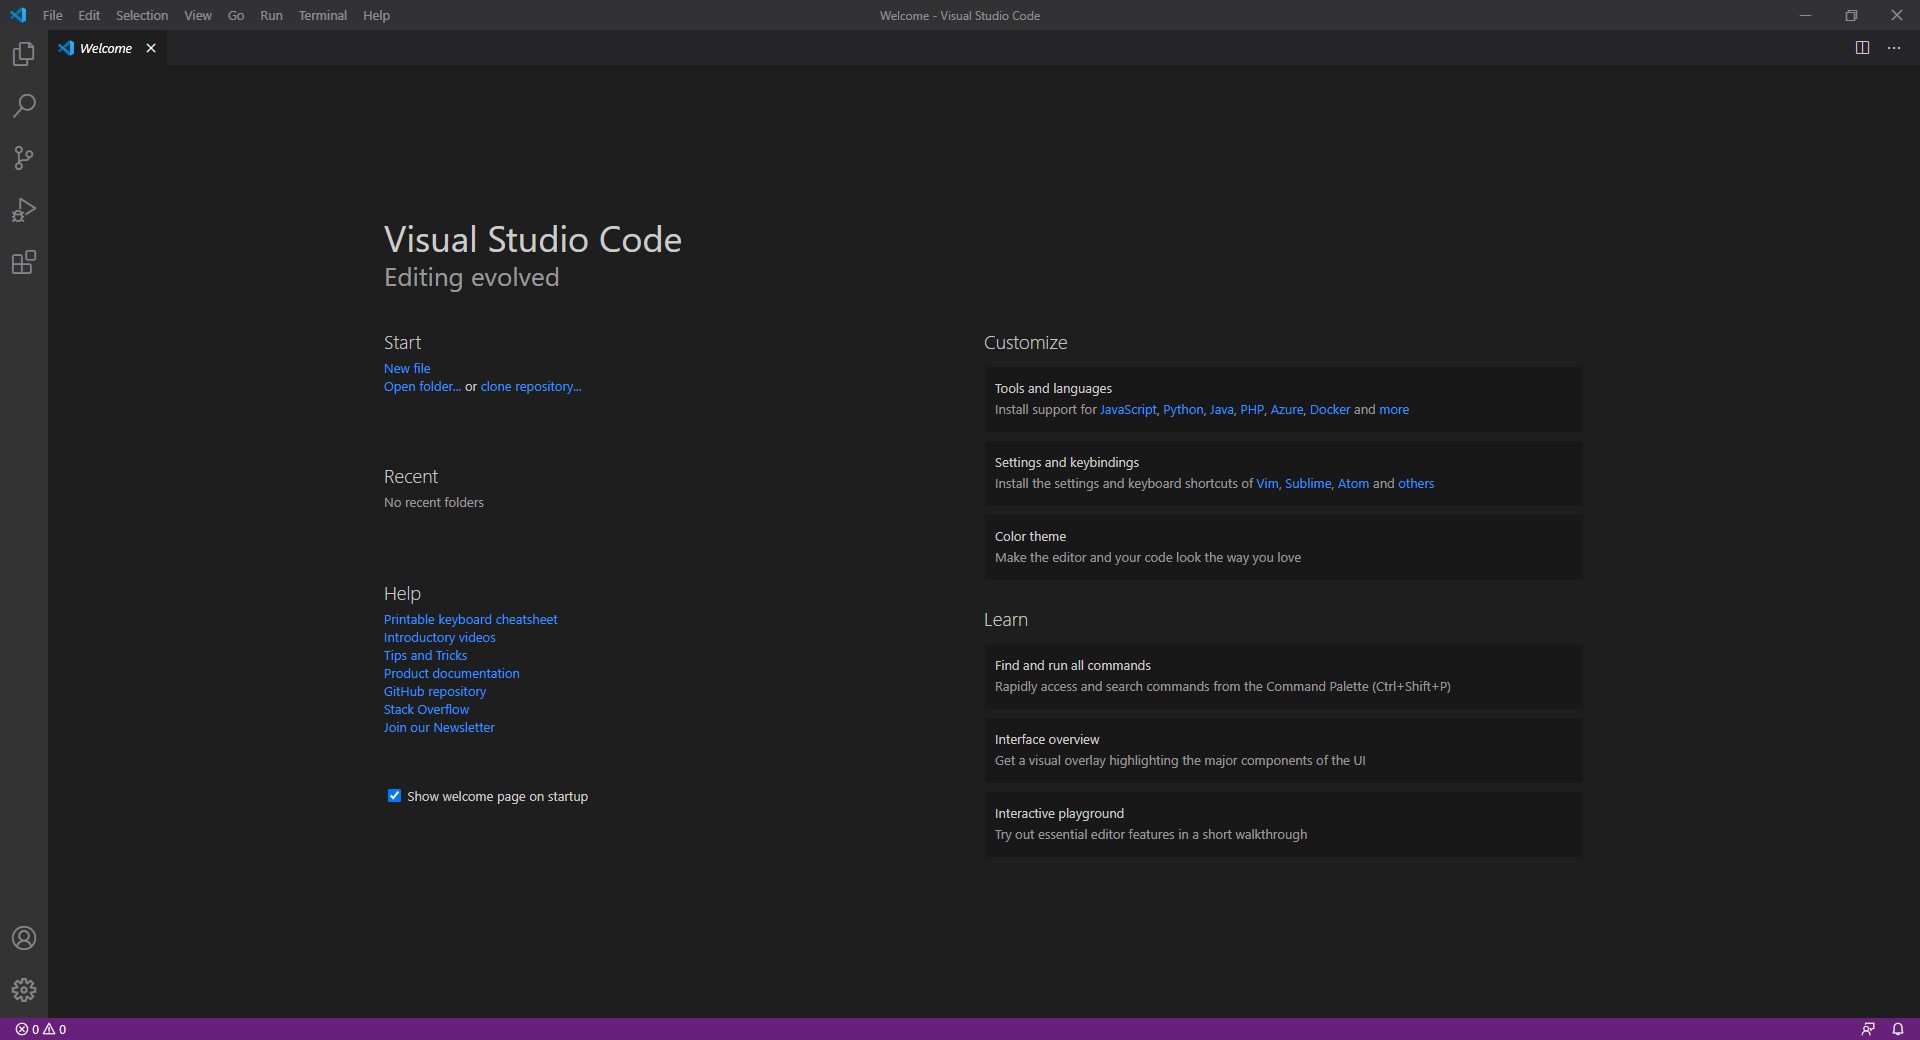
Run Visual Studio Code
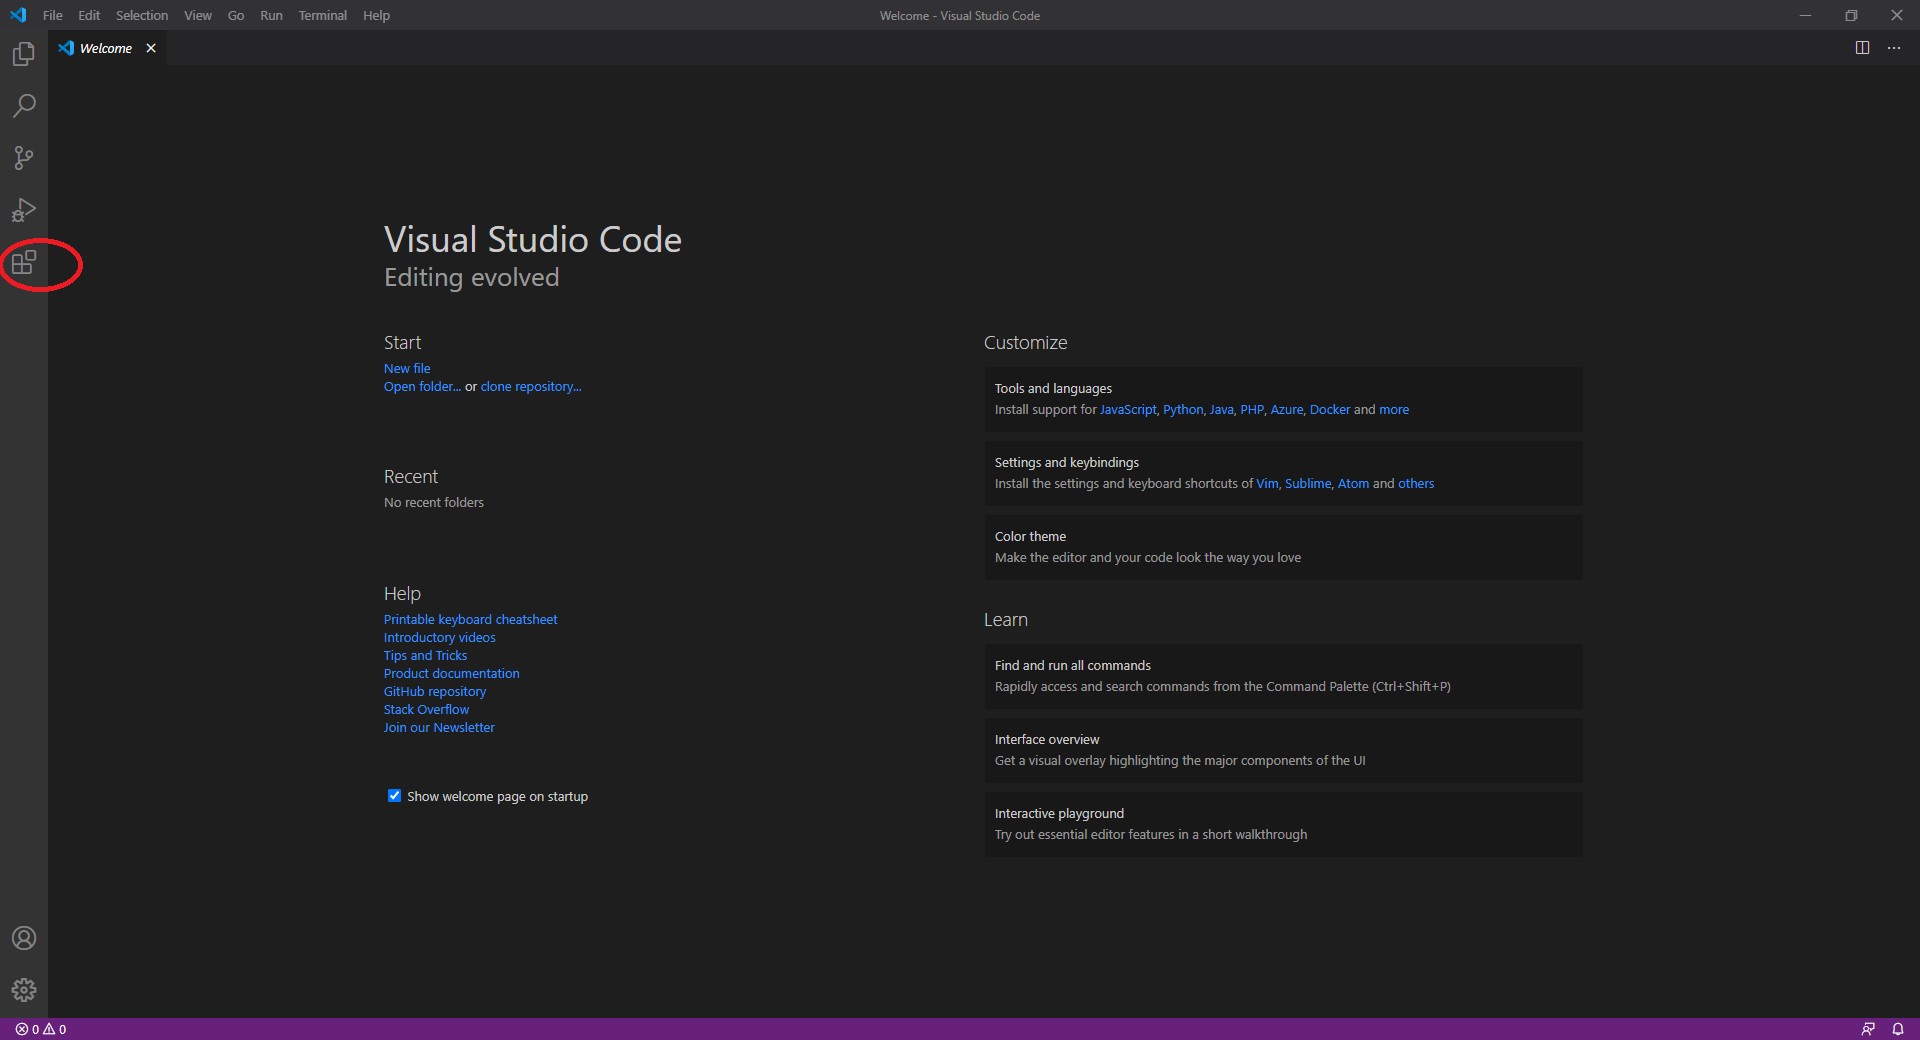
Choose “Extensions”
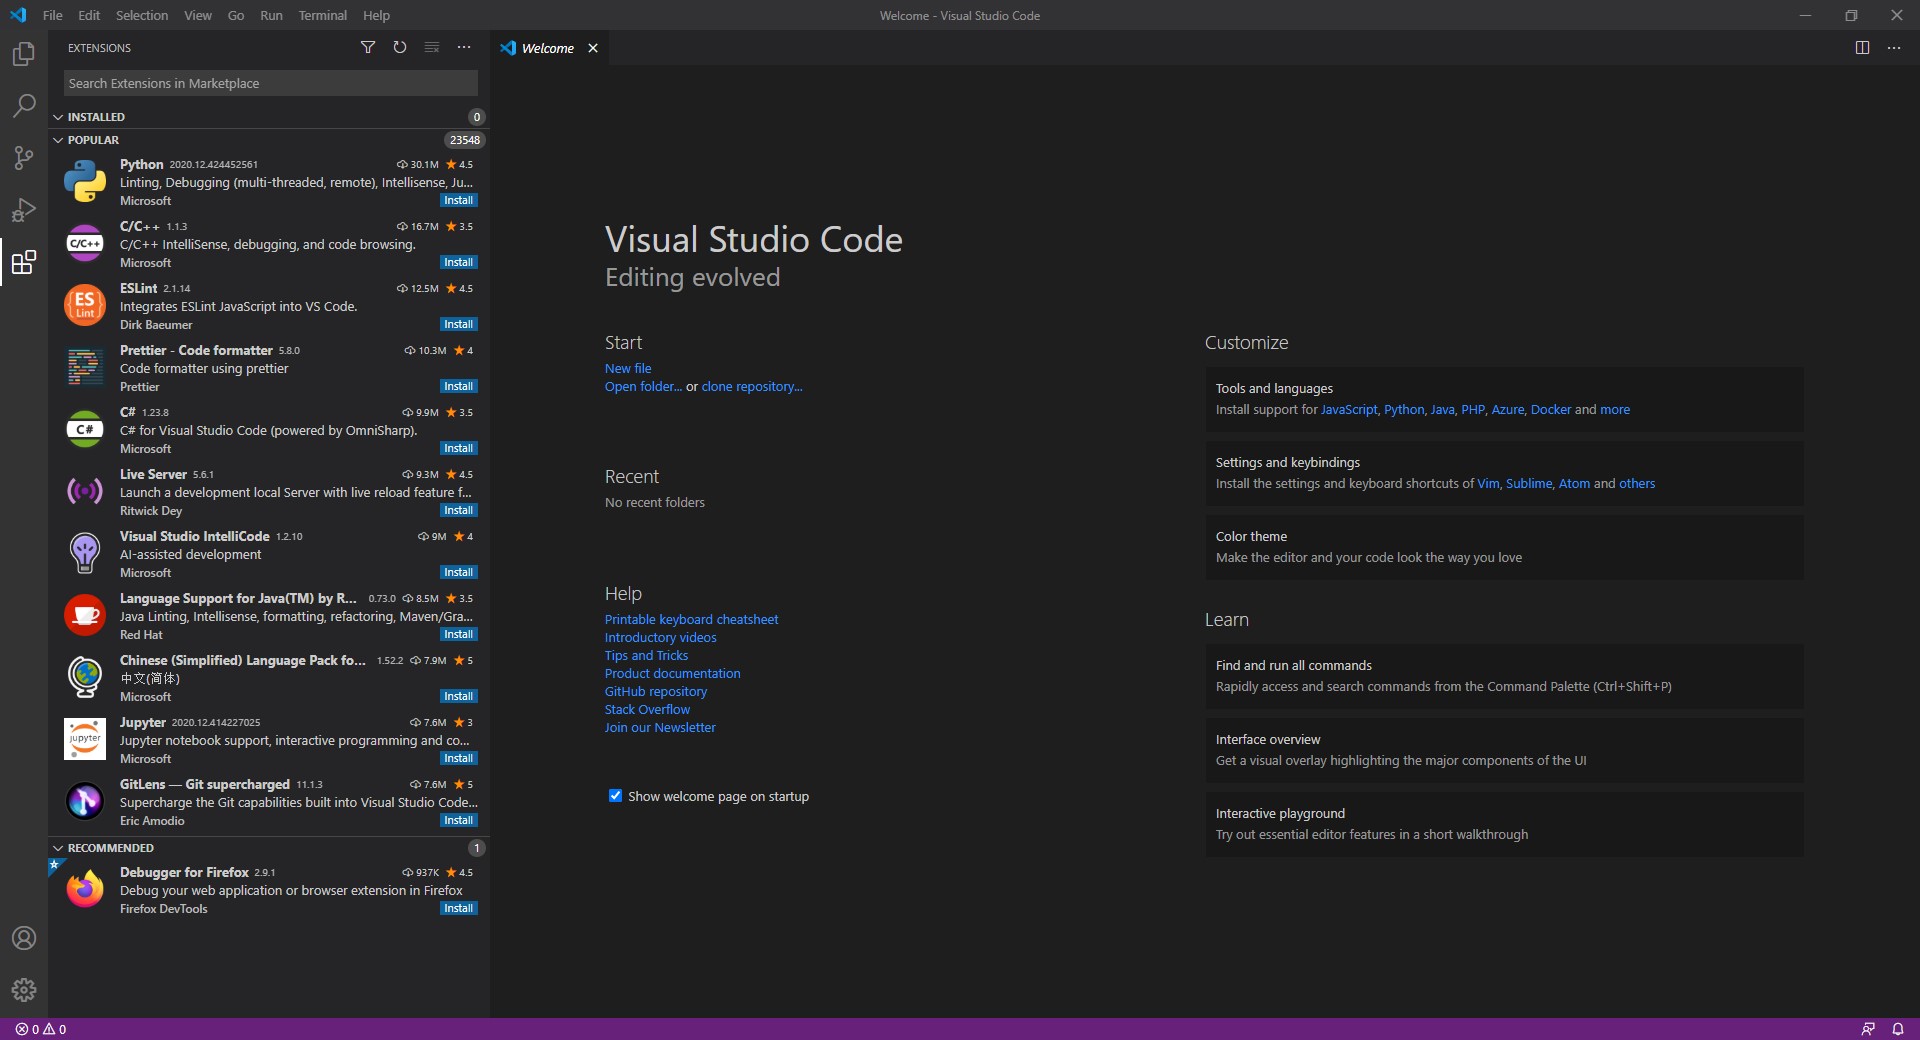
Search for “PlatformIO” extension
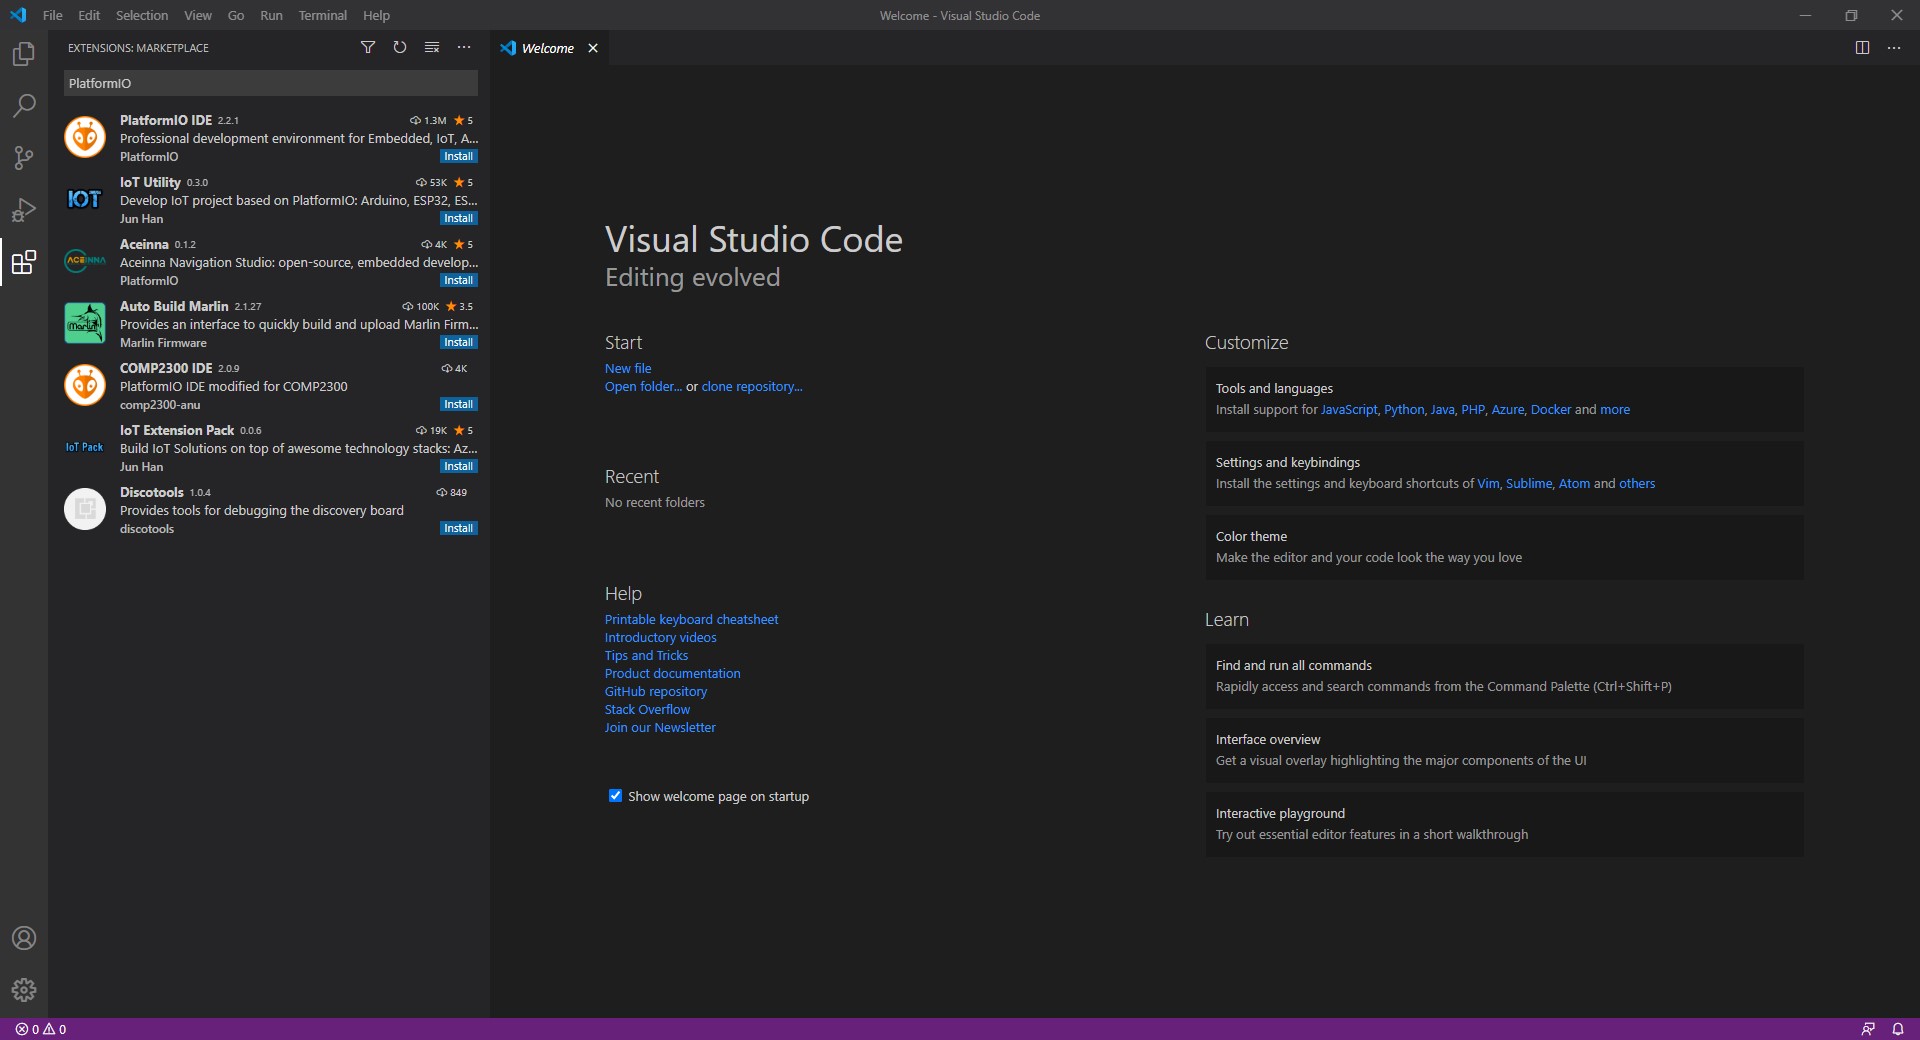
Click on “PlatformIO IDE install”

In case you discover a problem (especially happens under Win7), please restart VSCode, it may be caused by missing Python installation. If this does not happen please jump to “SUCCESSFUL PLATFORMIO INSTALLATION” (skip the next 5 pages).
When restarting the VSCode system you will find a popup window with the message “Missing Python 3 Interpreter”

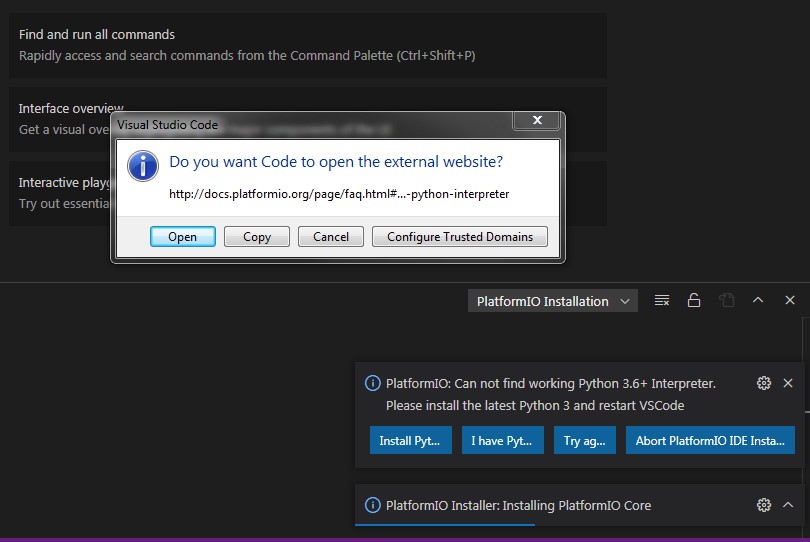
Press ‘Open’ and follow the instructions to install Python on your PC.
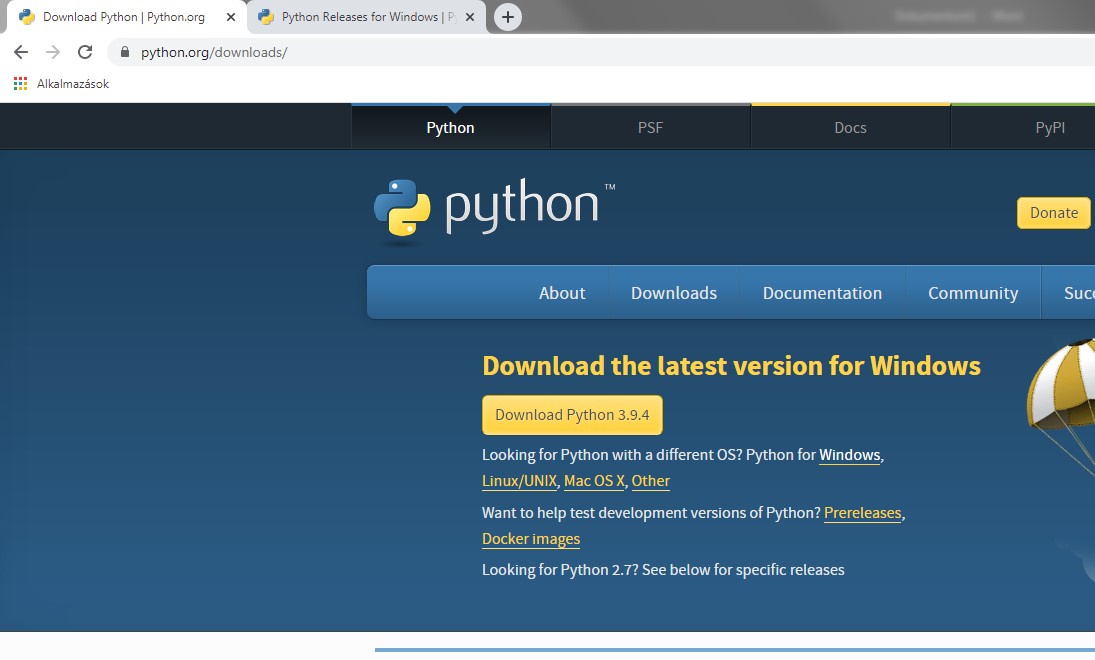
Download the latest Python link
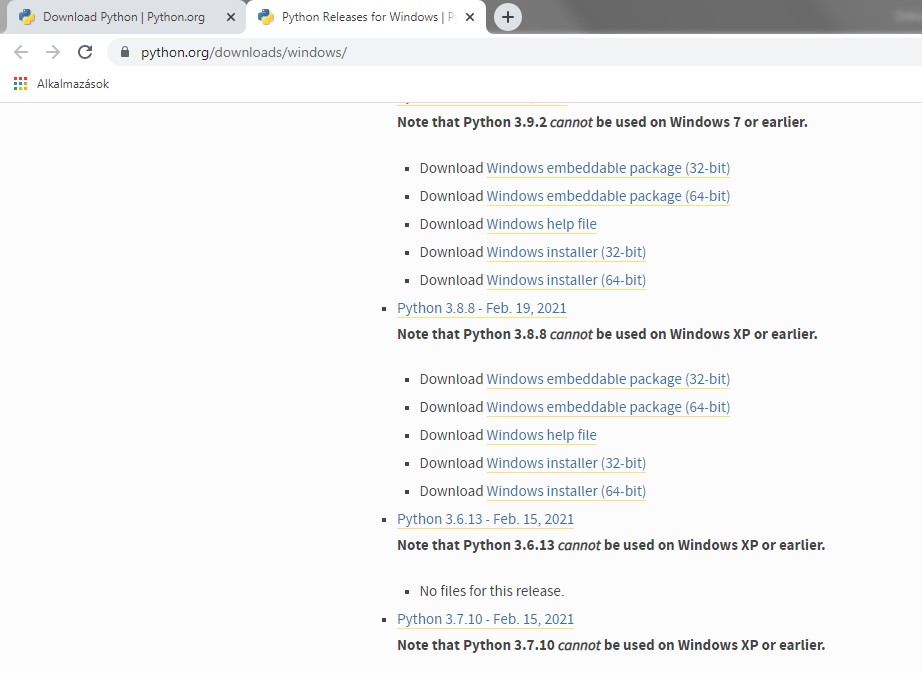
In case you have Win7 or other older systems, please select some Python systems developed for the right Windows version such as Python 3.8.8 , which suits for Windows7 or any other versions suggested for your Windows version :
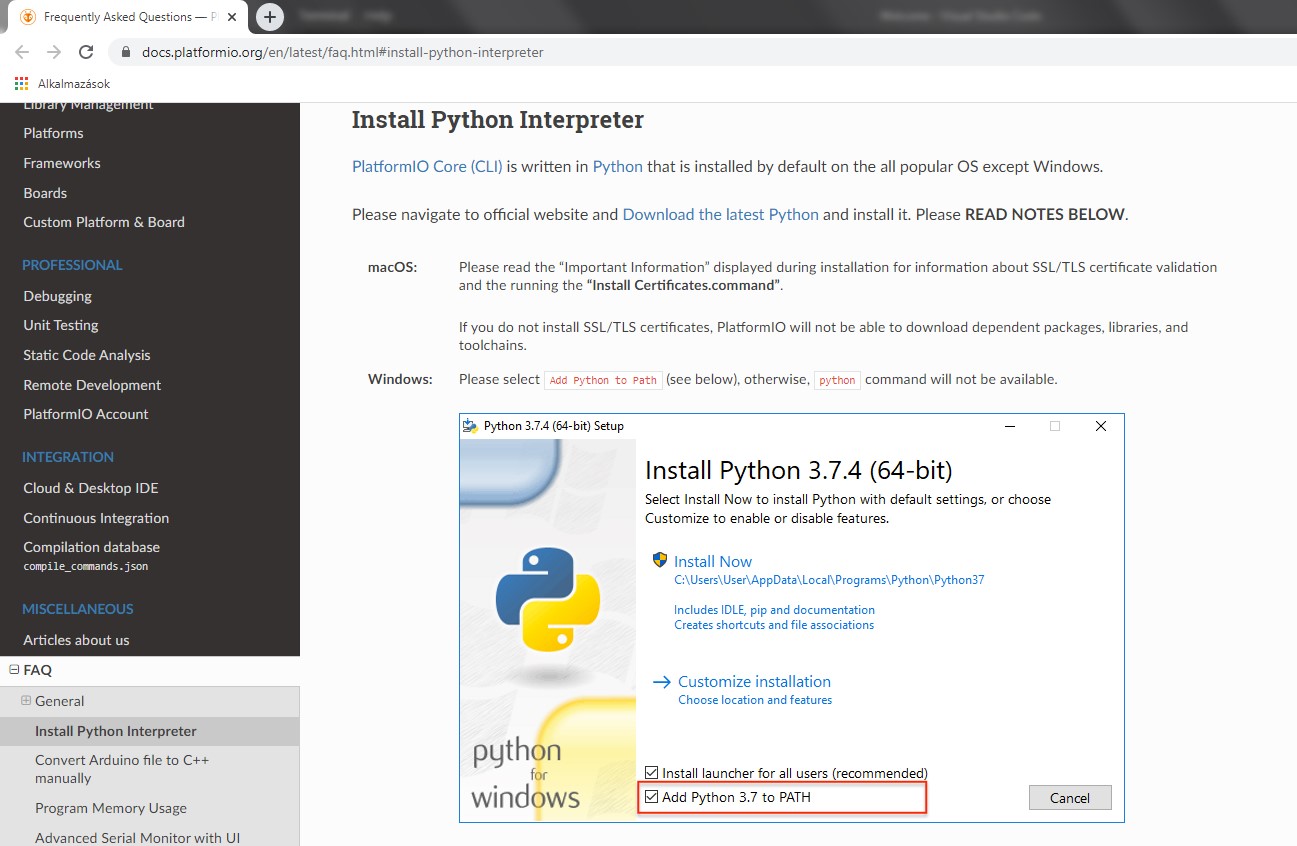
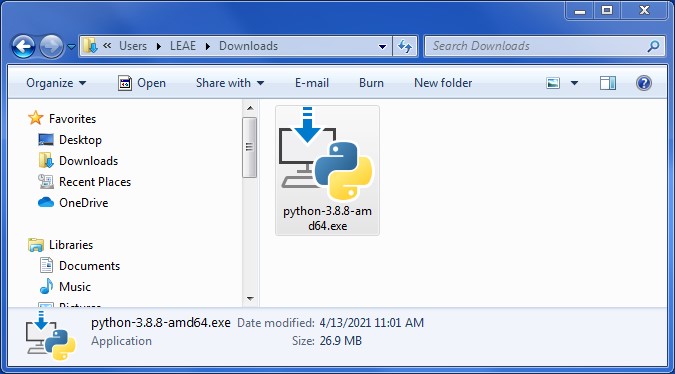
After downloading, please run the Python installer from your download folder :
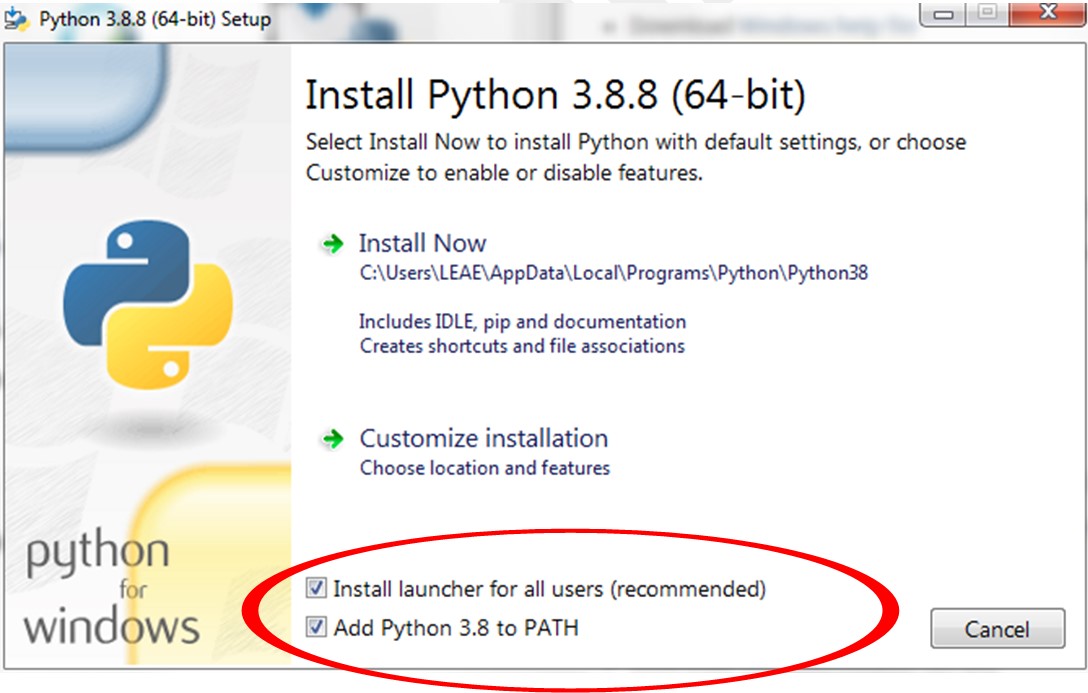
Please make sure you mark the “Add Python 3.X to PATH” checkbox and include ALL USERS for having the launcher. Select “Install Now” and follow instructions.
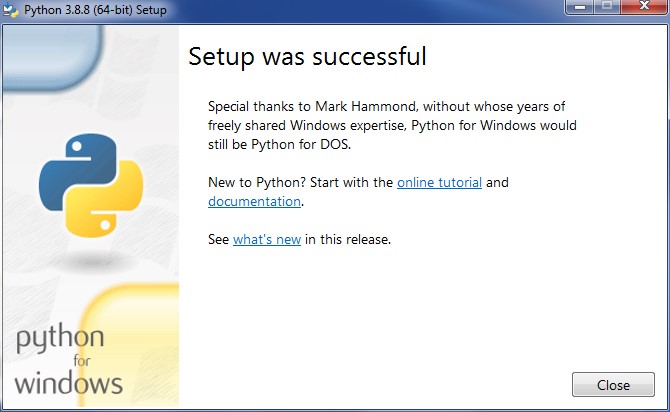
When finished, restart VSCode and the PlatformIO installation now must run without any disturbances.
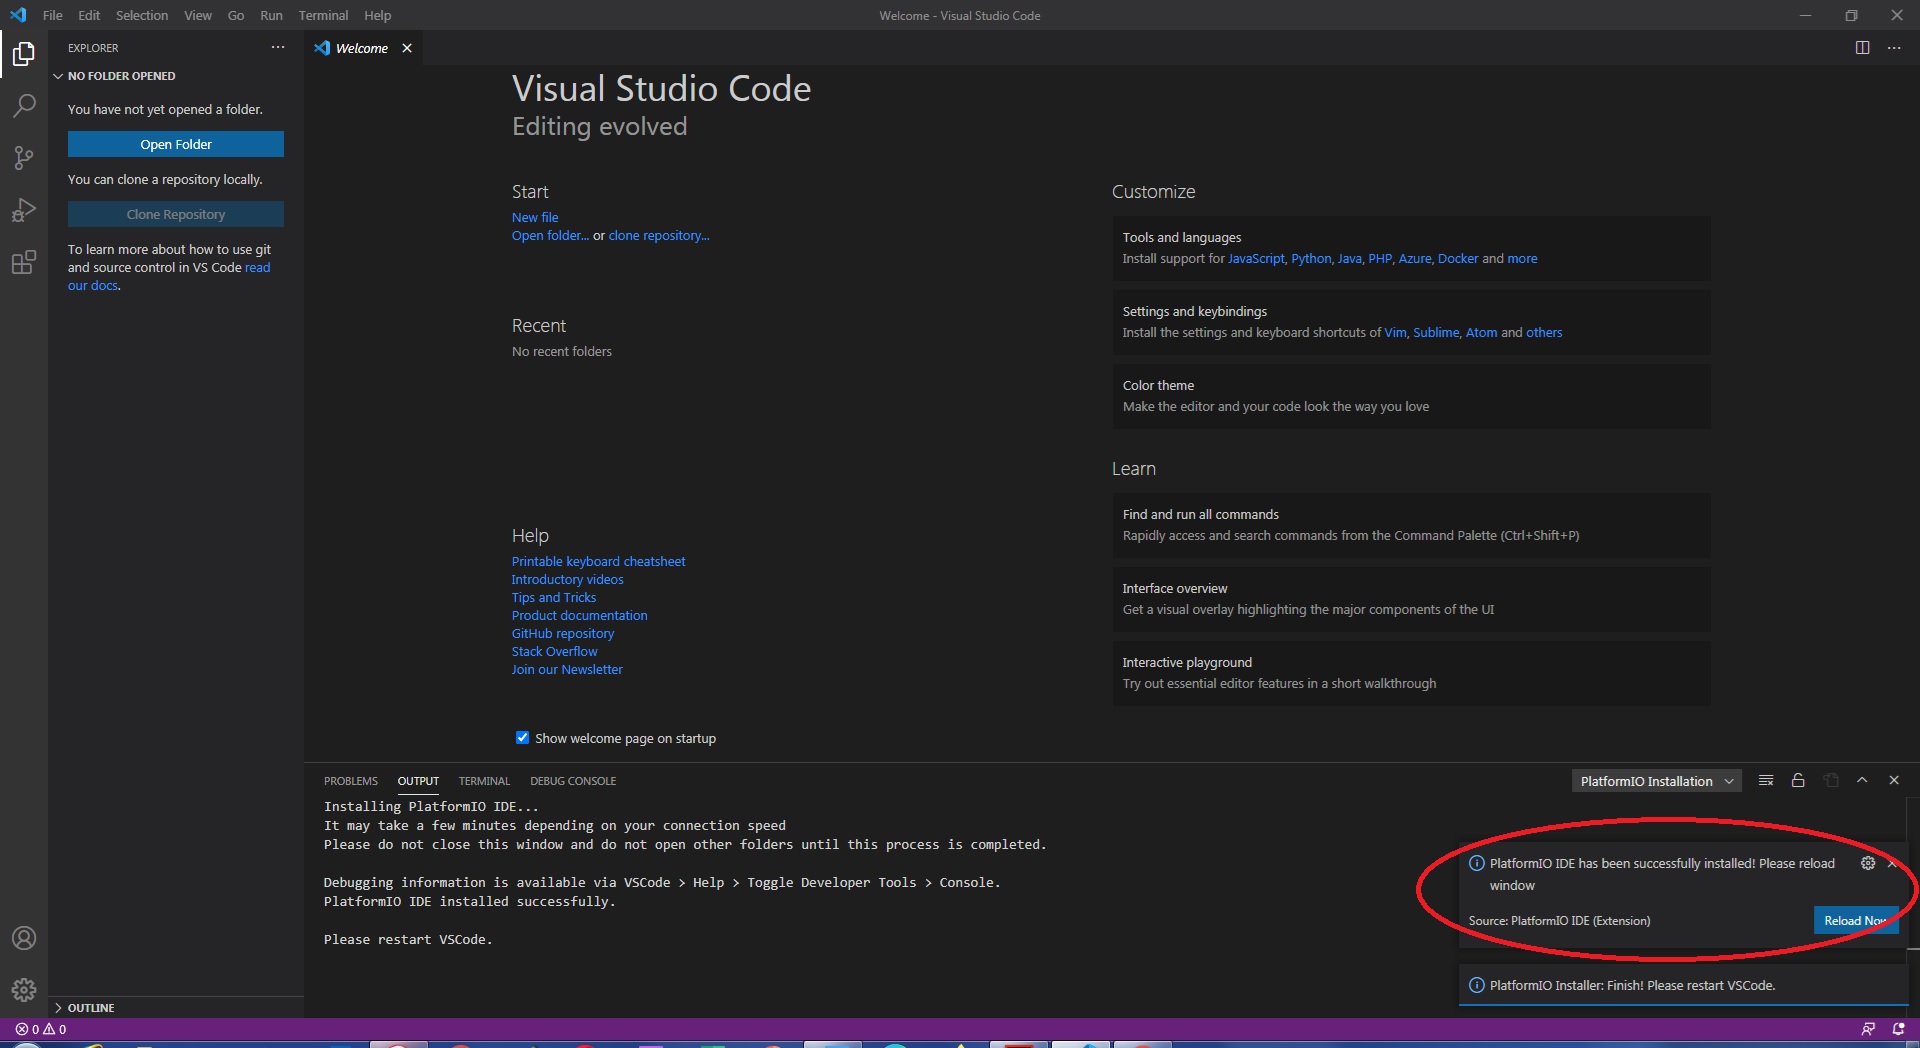
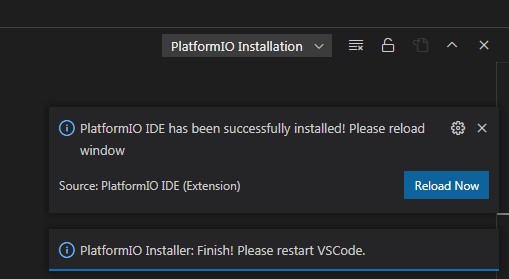
Restarting VSCode you can find PlatformIO installed.
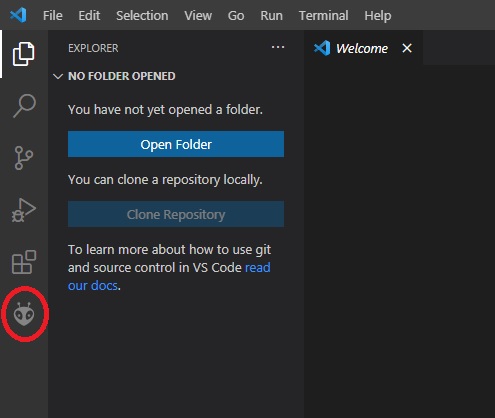
SUCCESSFUL PLATFORMIO ISTALLATION : If you had a successful installation, click on PlatformIO icon

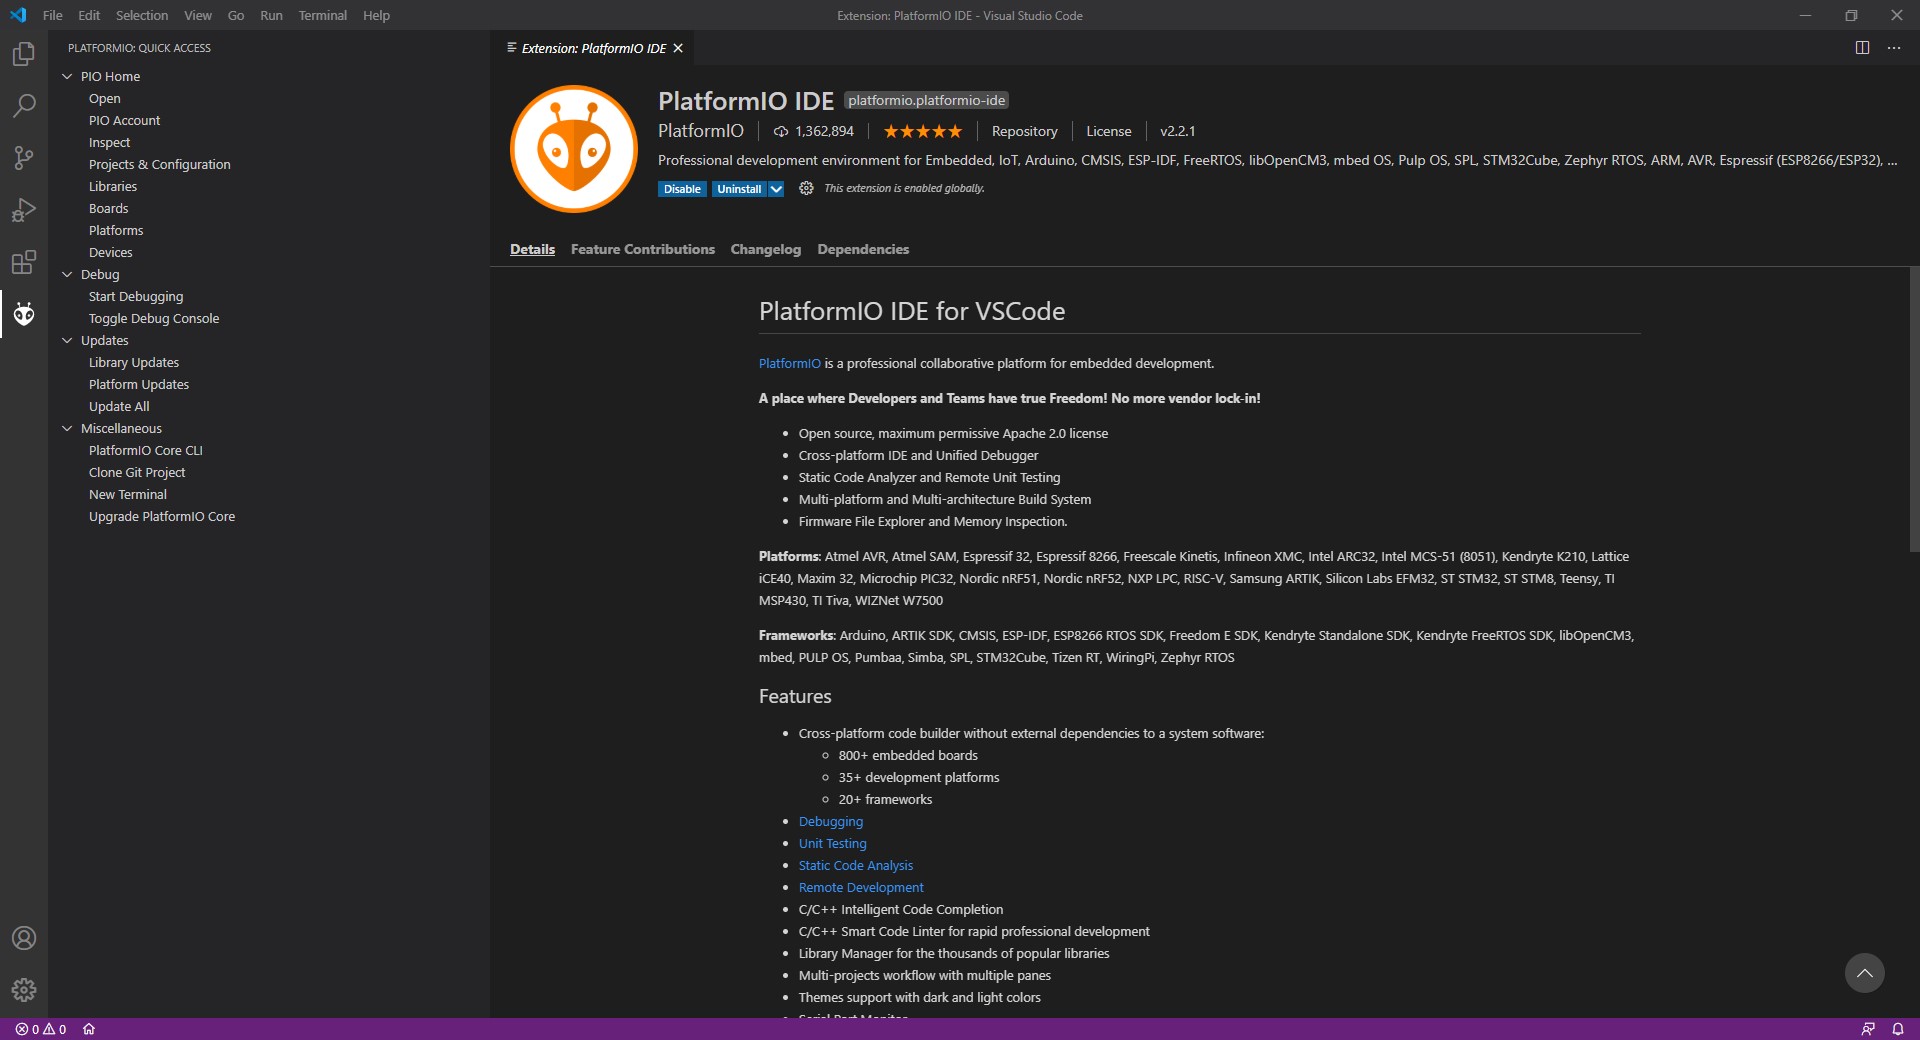
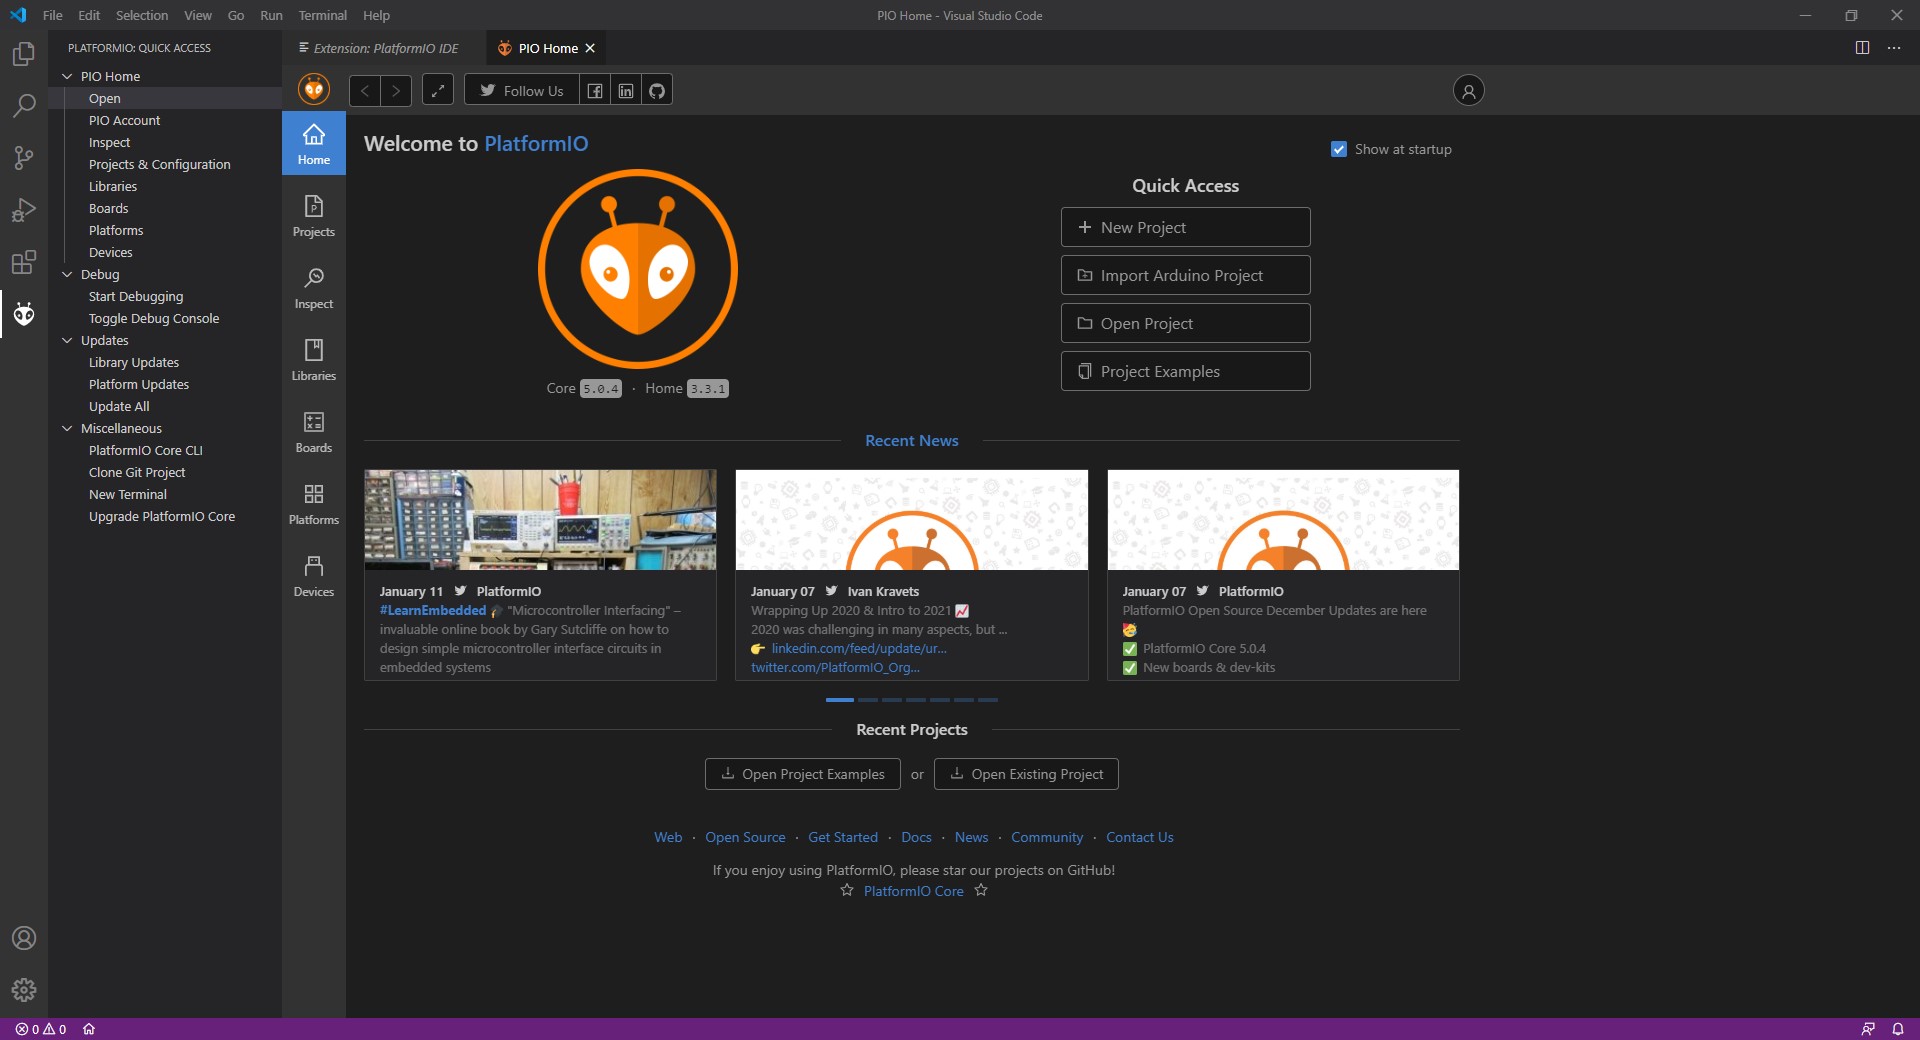
PLATFORMIO_QUICK ACCESS → Open

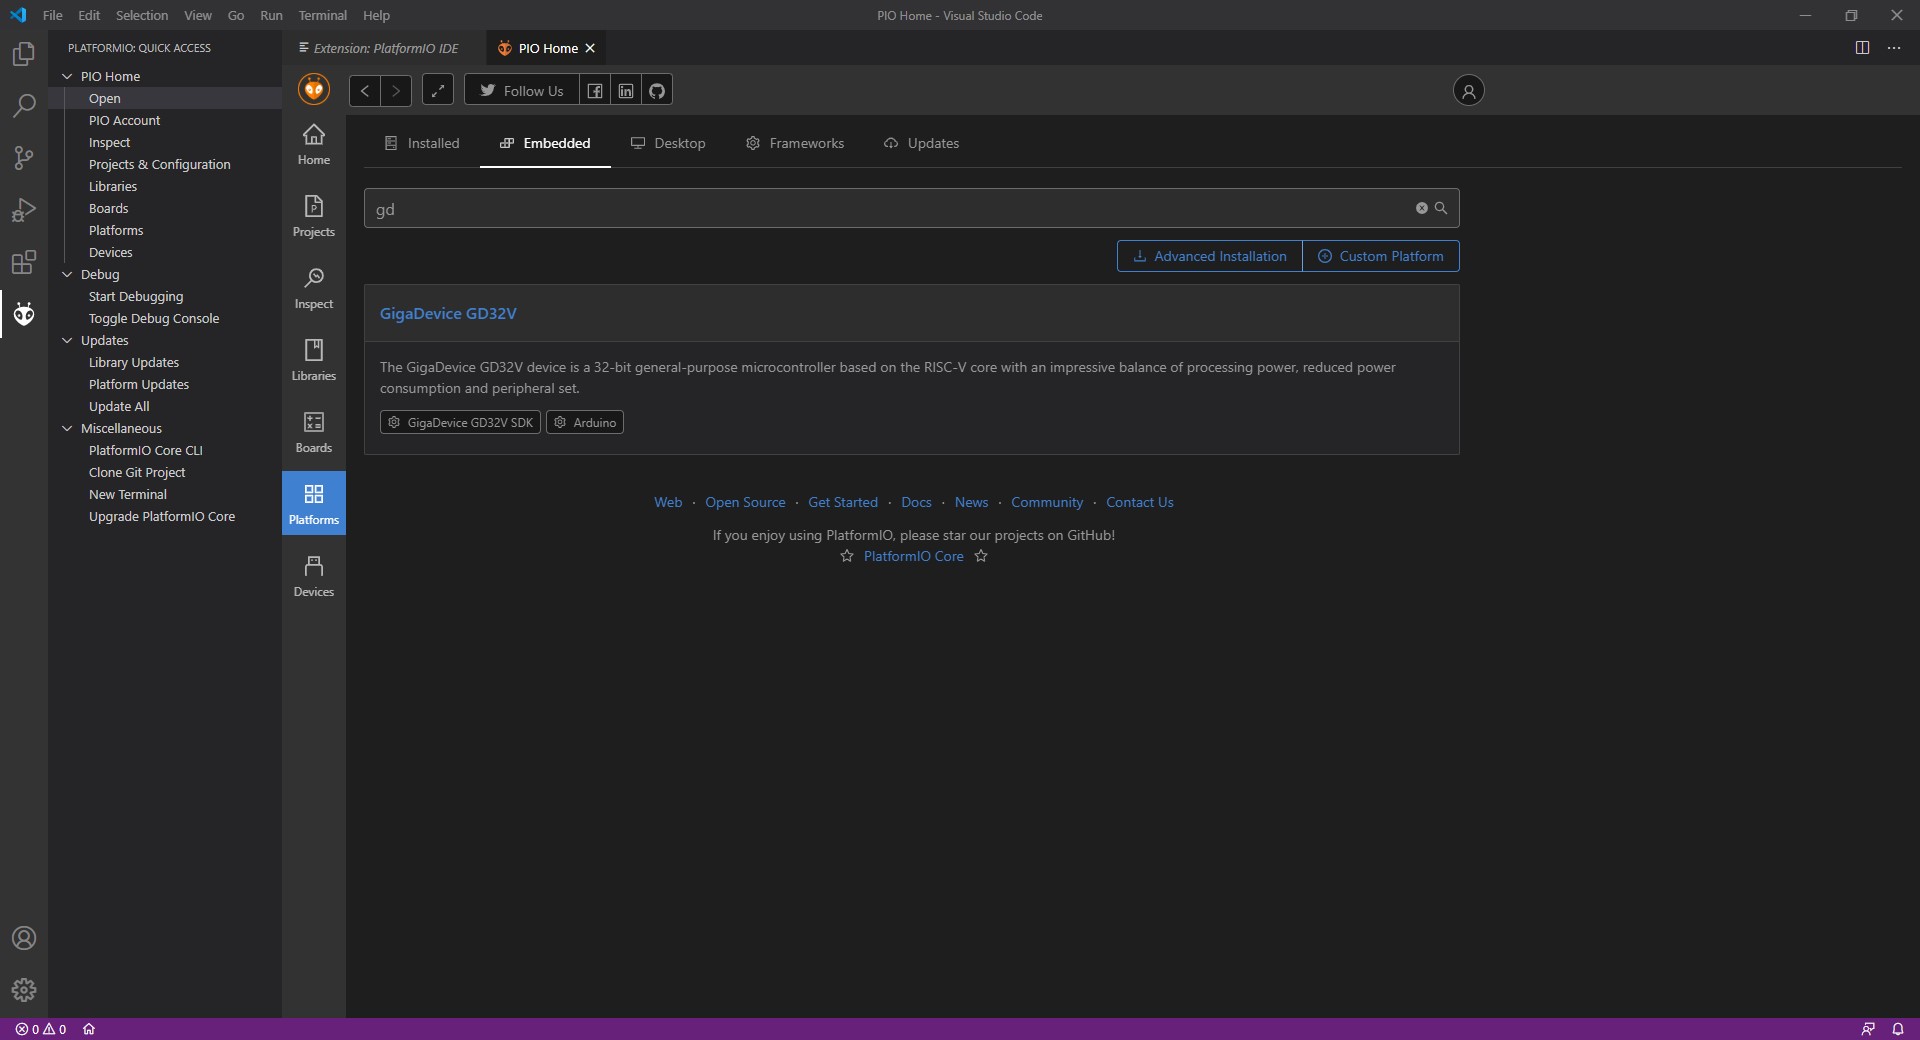
Please click on the Platforms page → Embedded → search “gd32”
Search for GigaDevice GD32V “Arduino”
Search for Board: “Longan” (Longan Nano is a commercial board based on exactly the same MCU platform GD32VF103 as the Endrich IoT SBC board.)
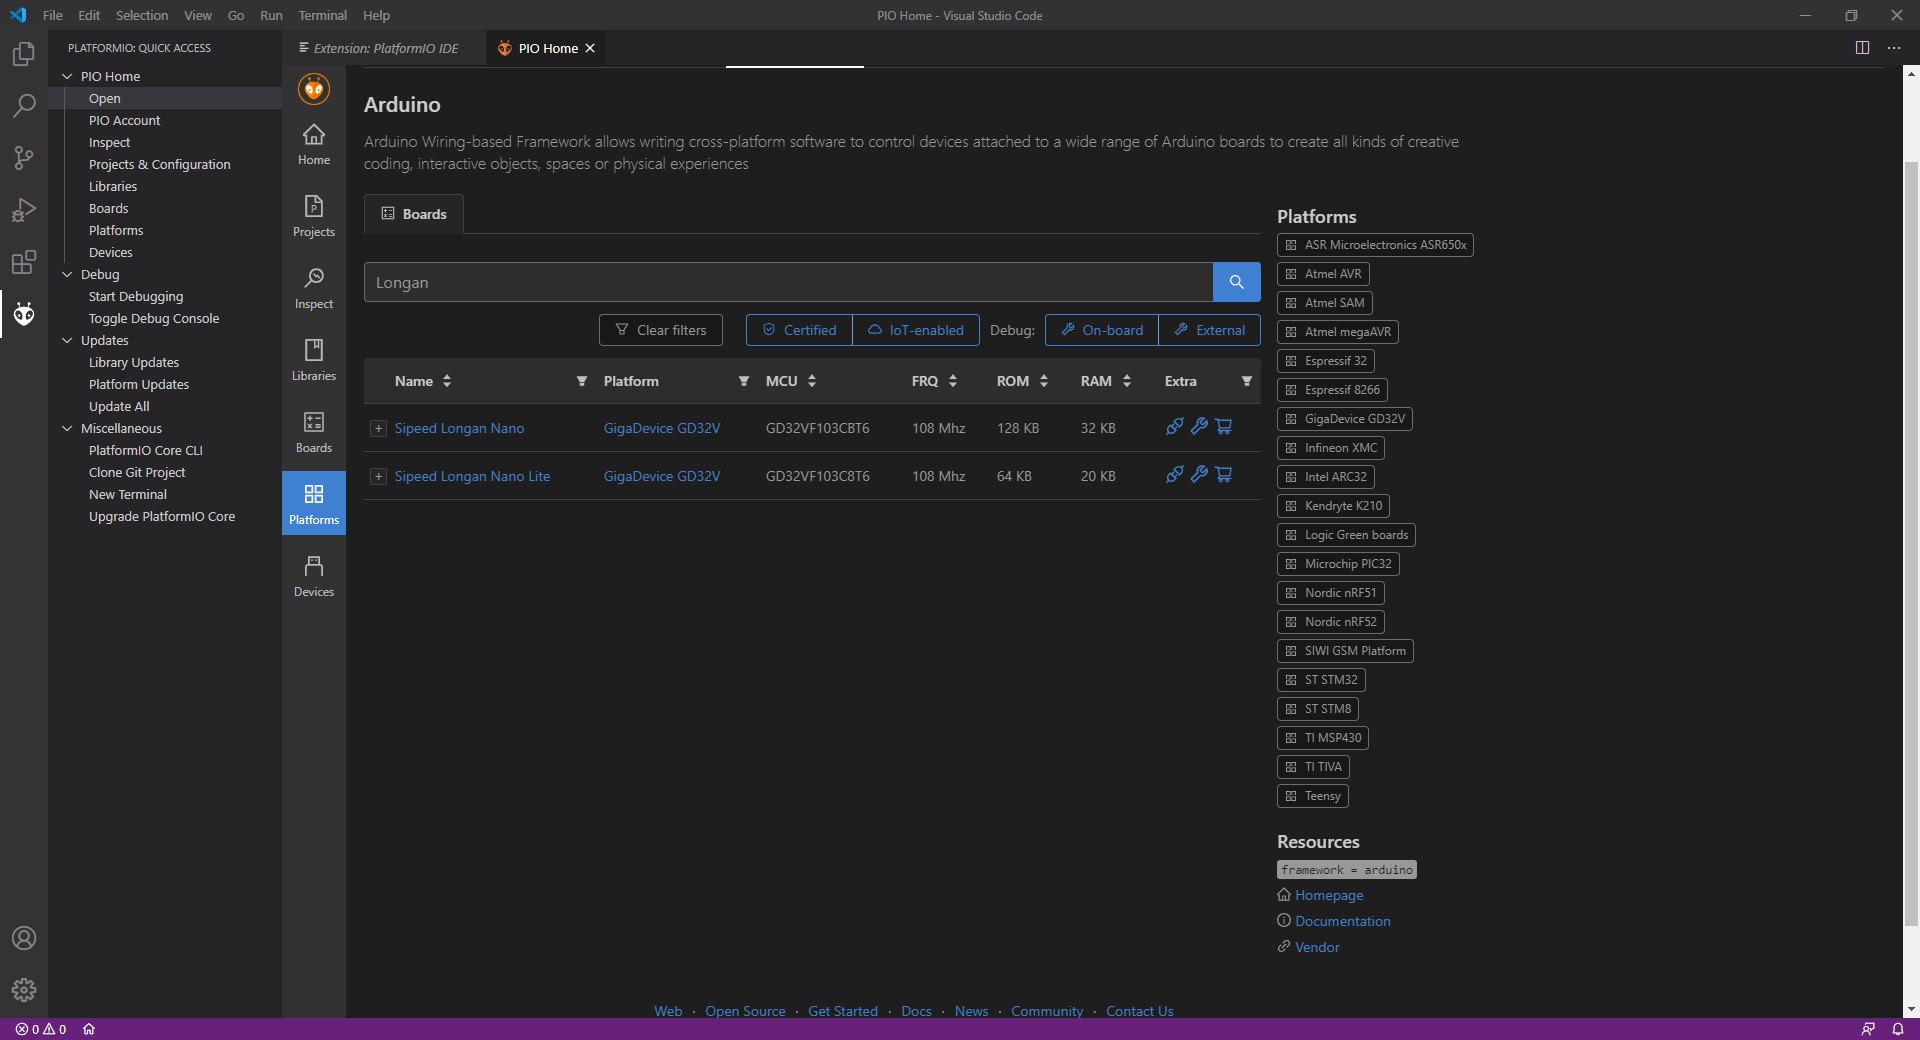
Select board “Sipeed Longan Nano”

Click on “Install”
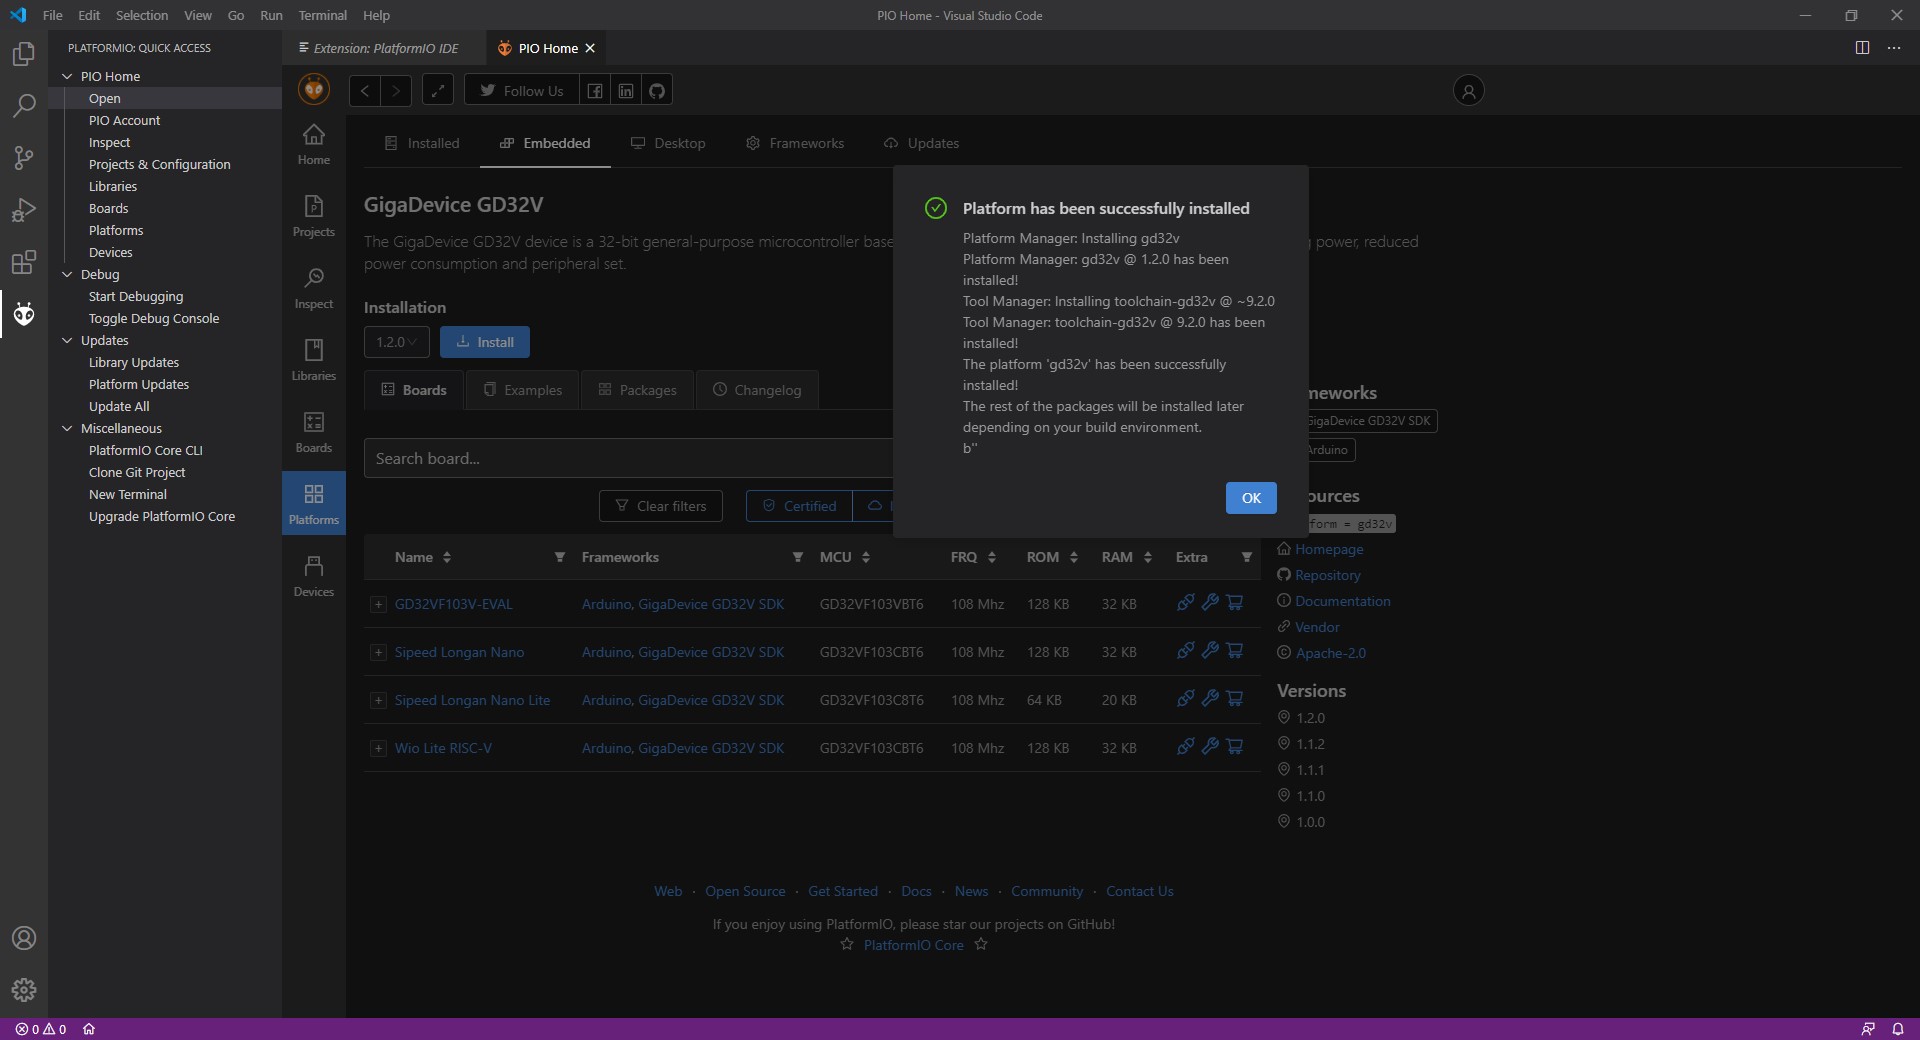
Now the GigaDevice GD32V platform has also been successfully installed.
5.4 Installing GD32VF BSP for Arduino IDE
In this section we will show how to implement GD32VF103 support to the ARDUINO IDE. Due to the limited support, please however consider this as an “nice-to-have” feature, we recommend using PlatformIO IDE for real development.
Steps of the installation:
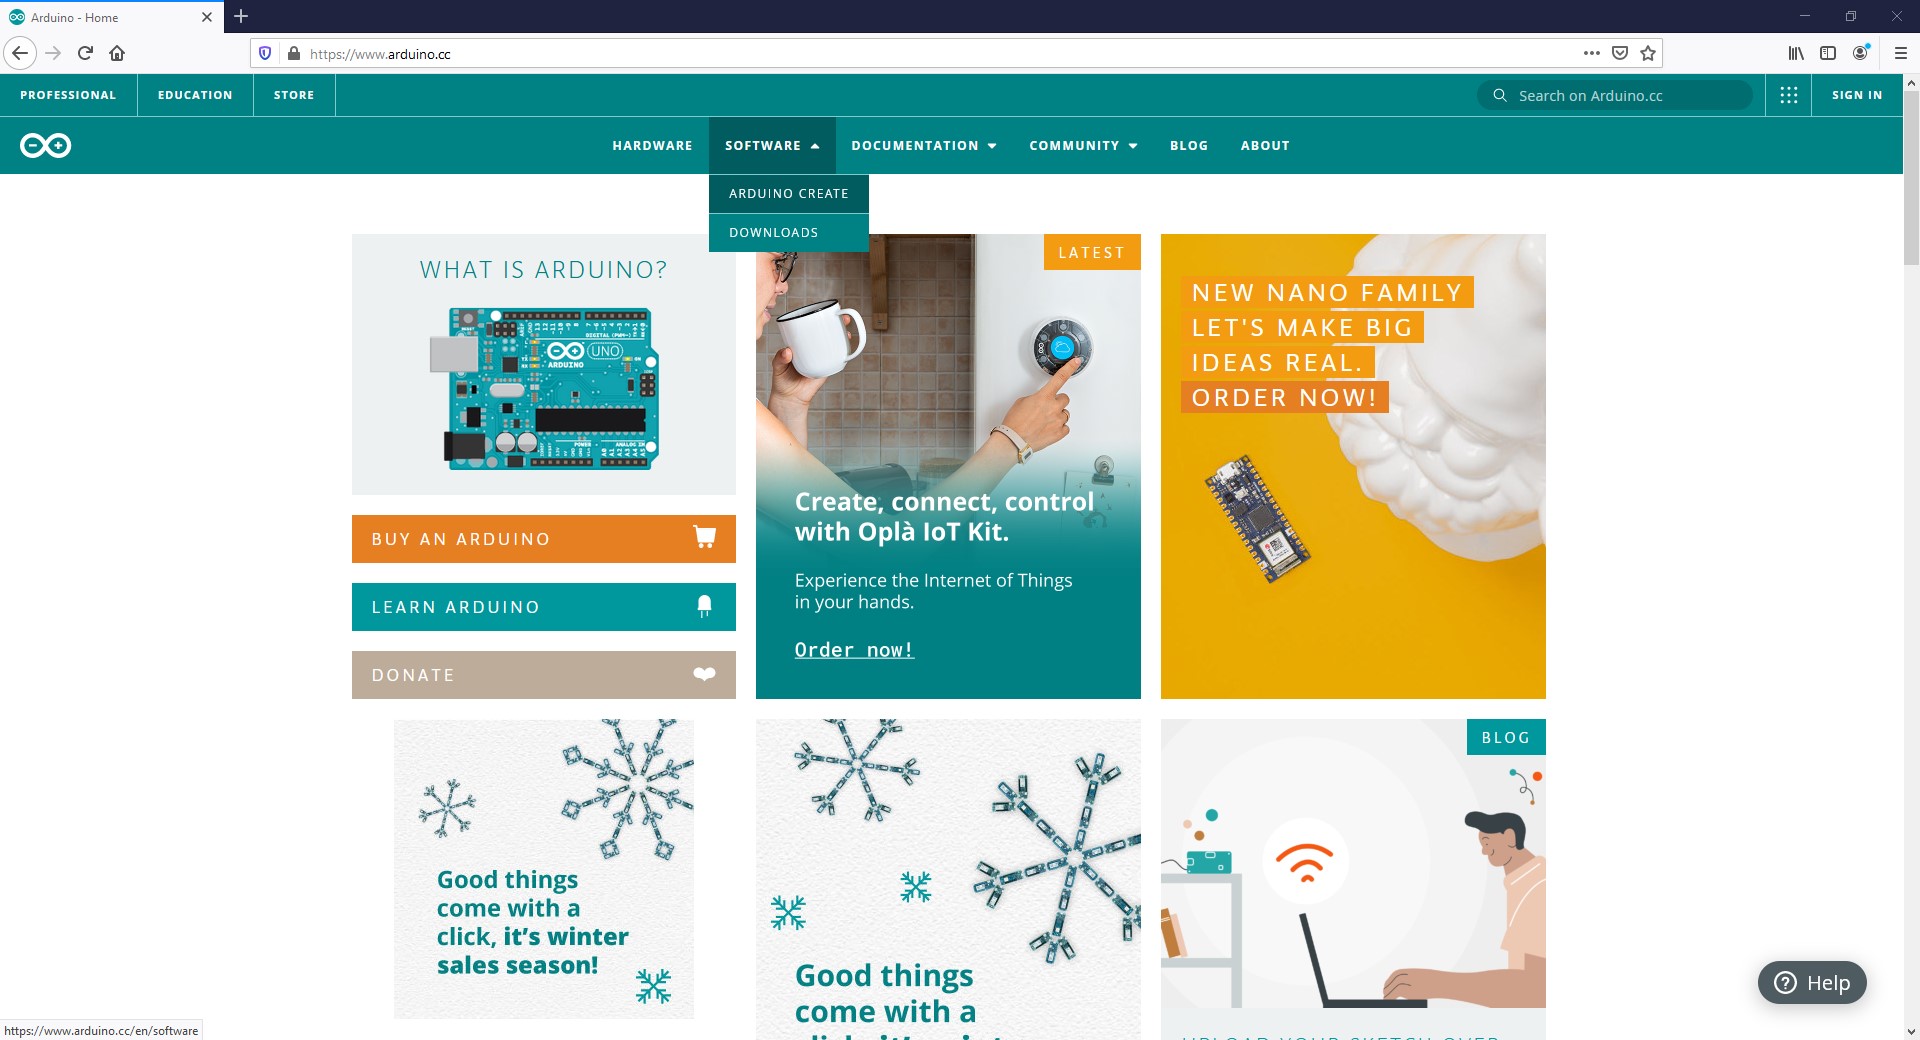
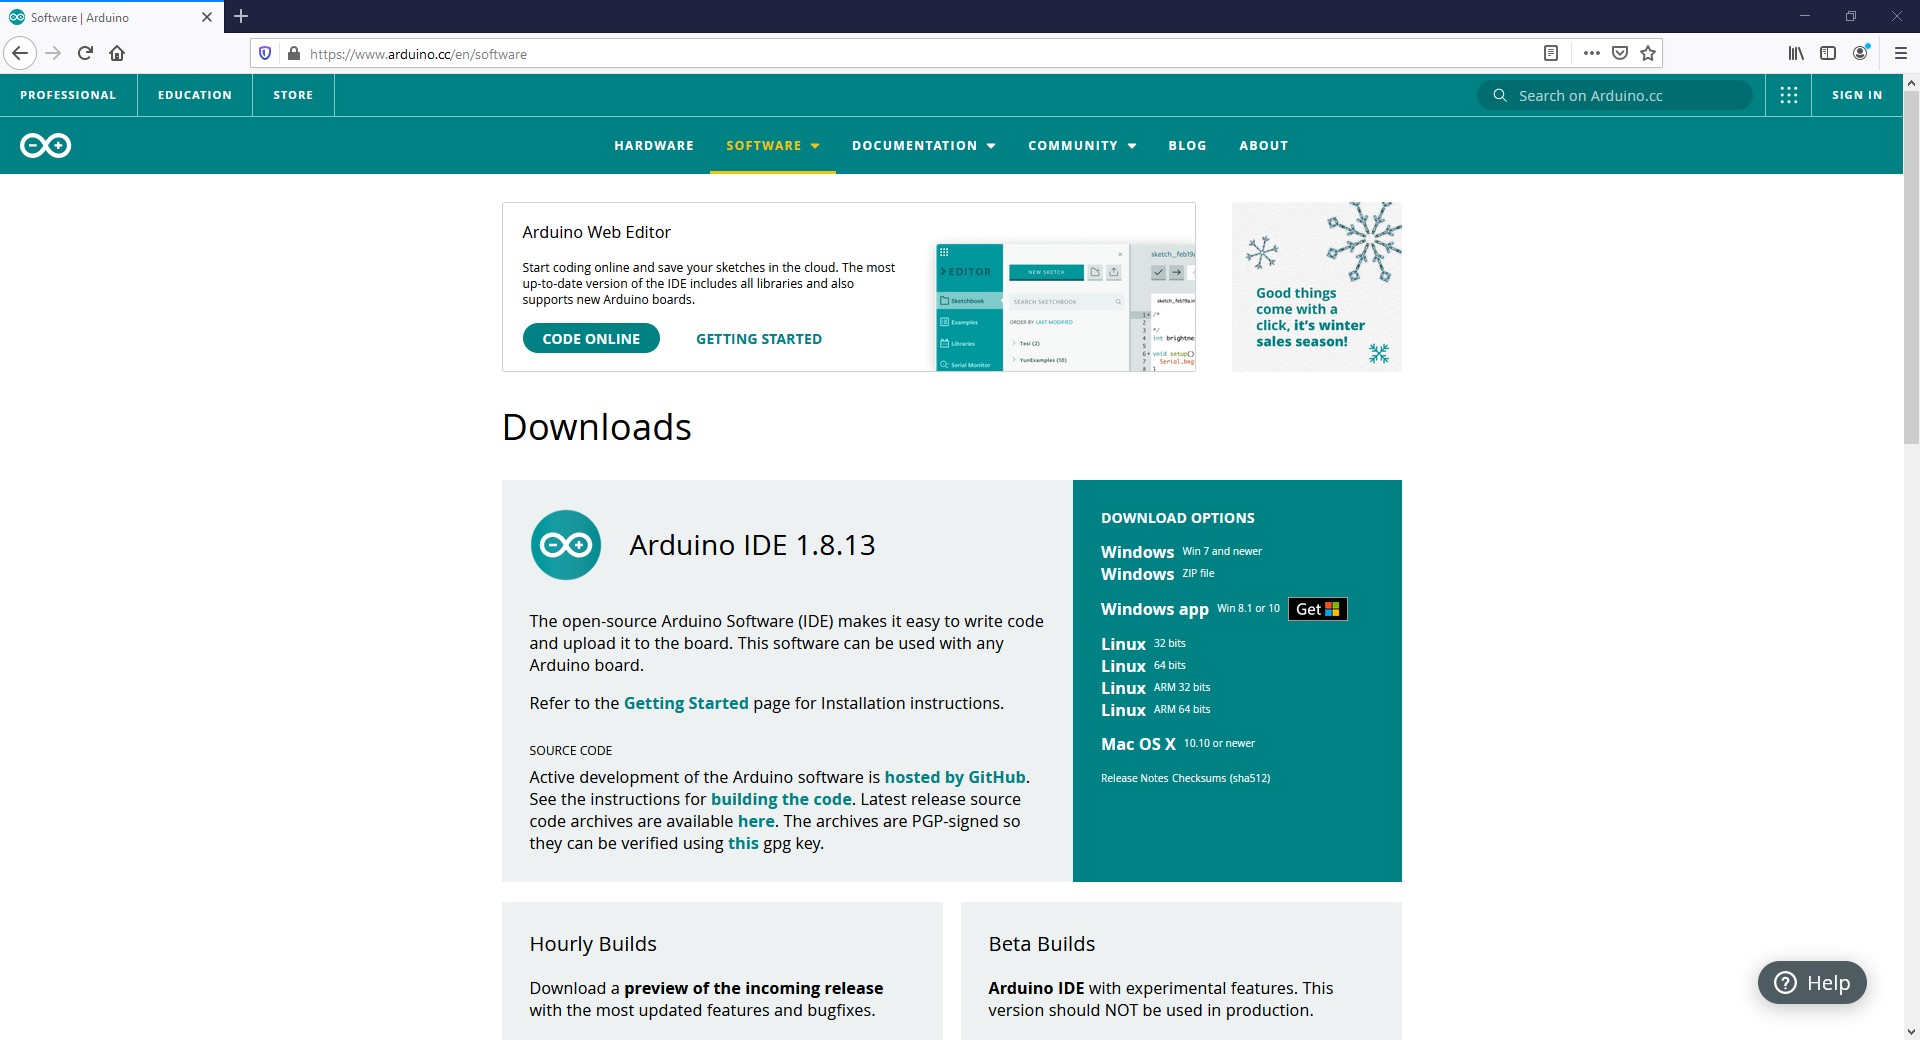
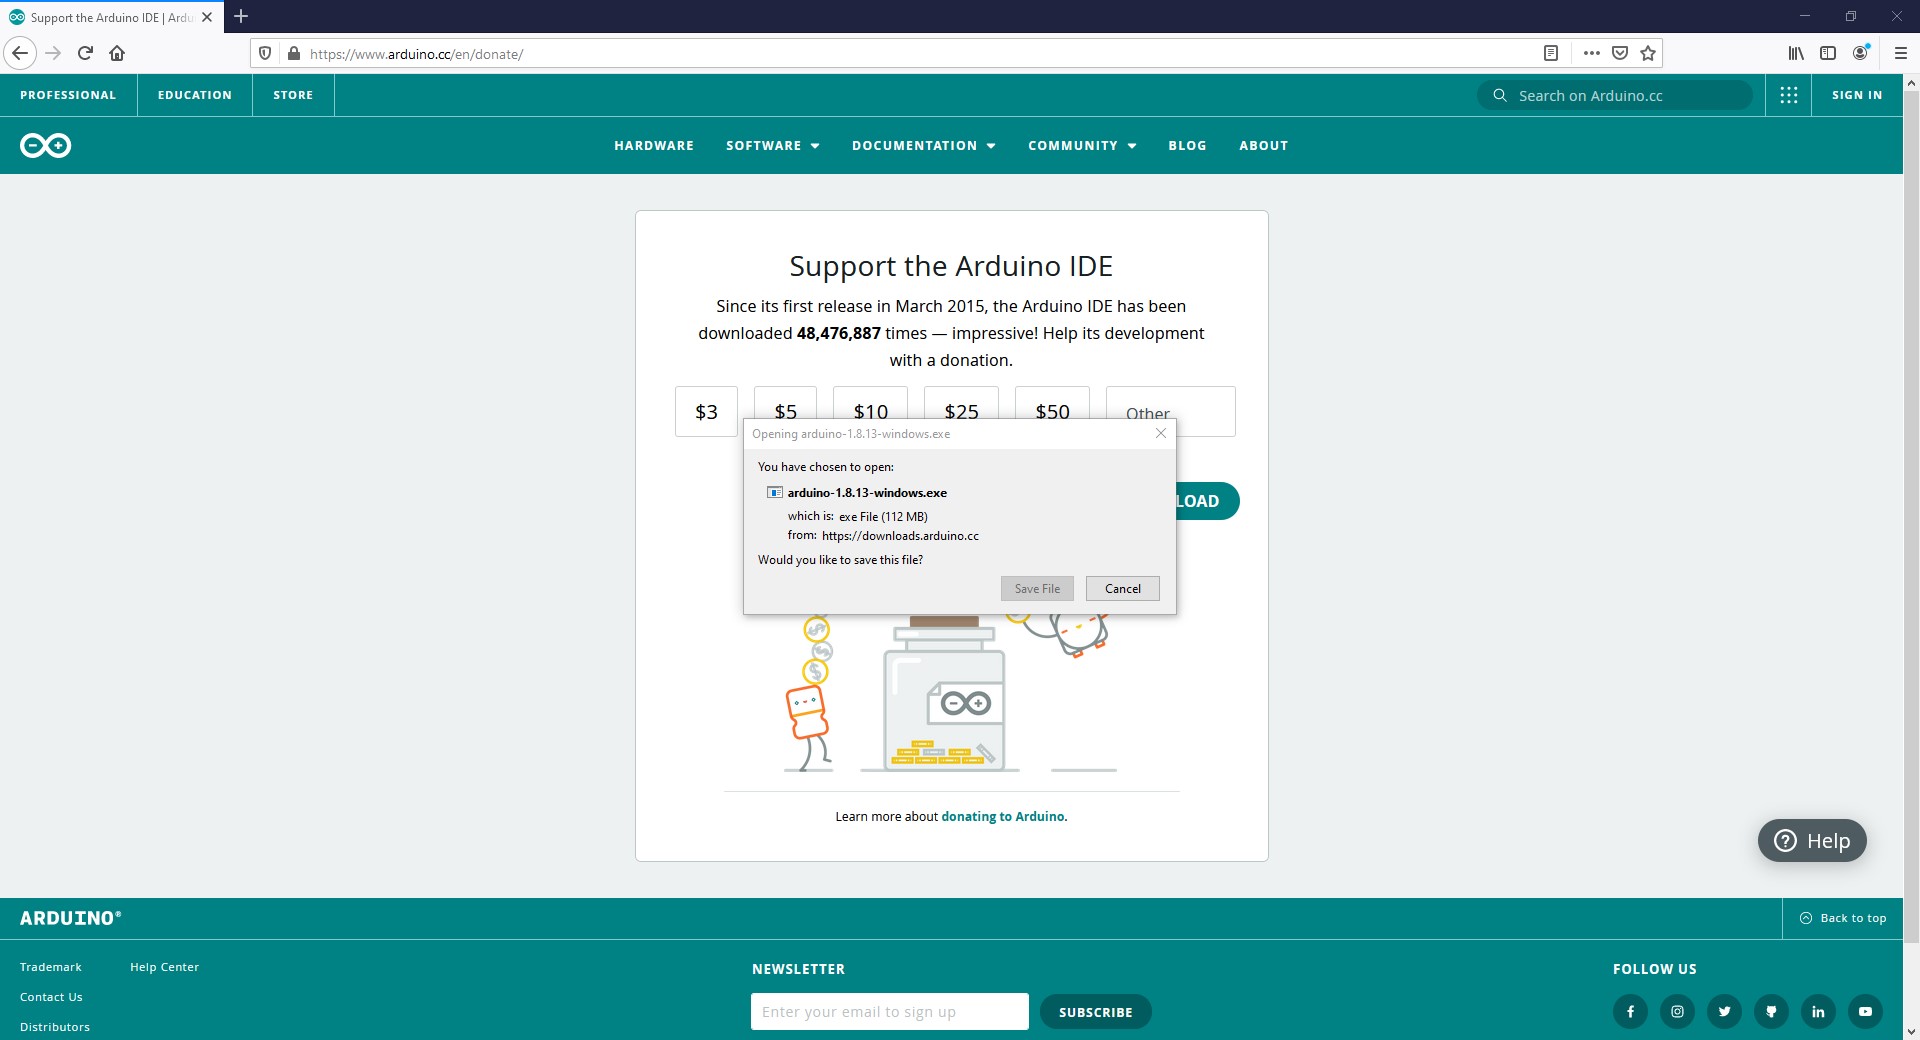
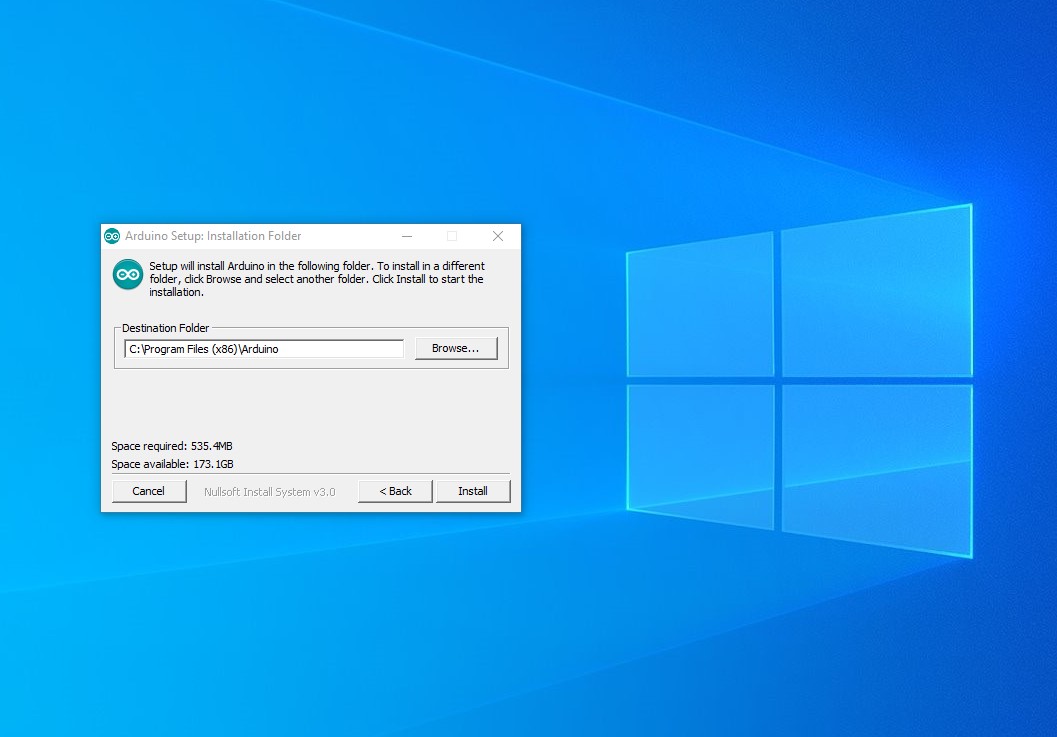
Please go to the Arduino web page and locate the DOWNLOAD area from the software MENU. Select the right Windows version at Downloads → Downloads Options → WINDOWS (Win7 and newer)
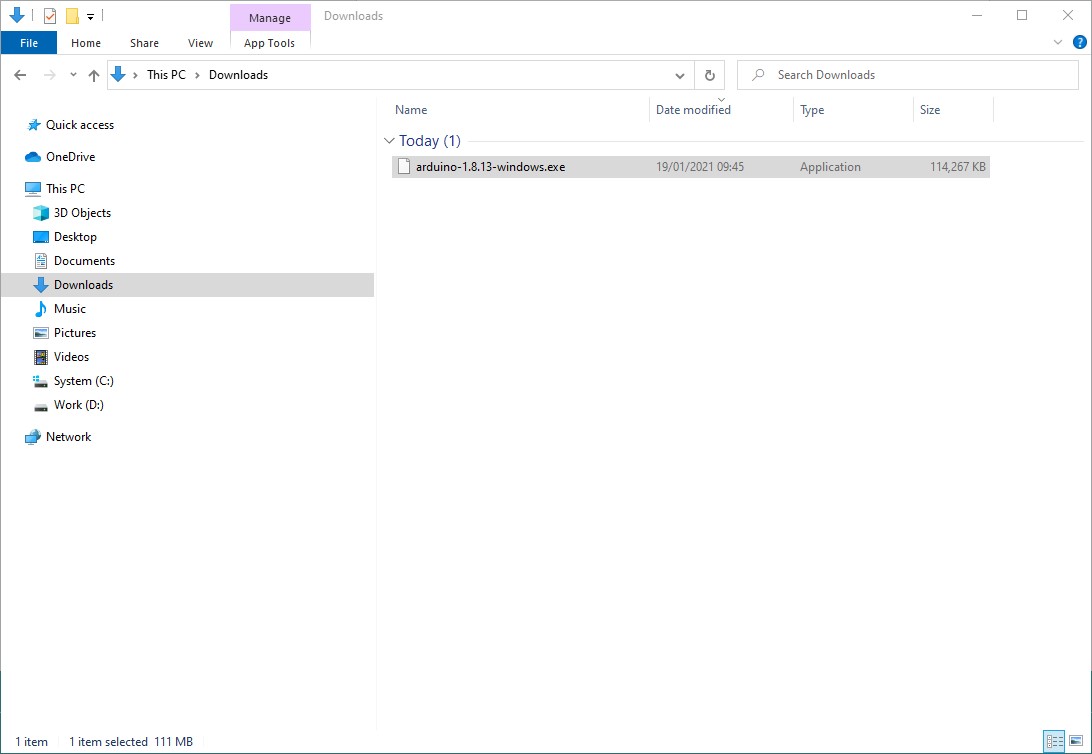
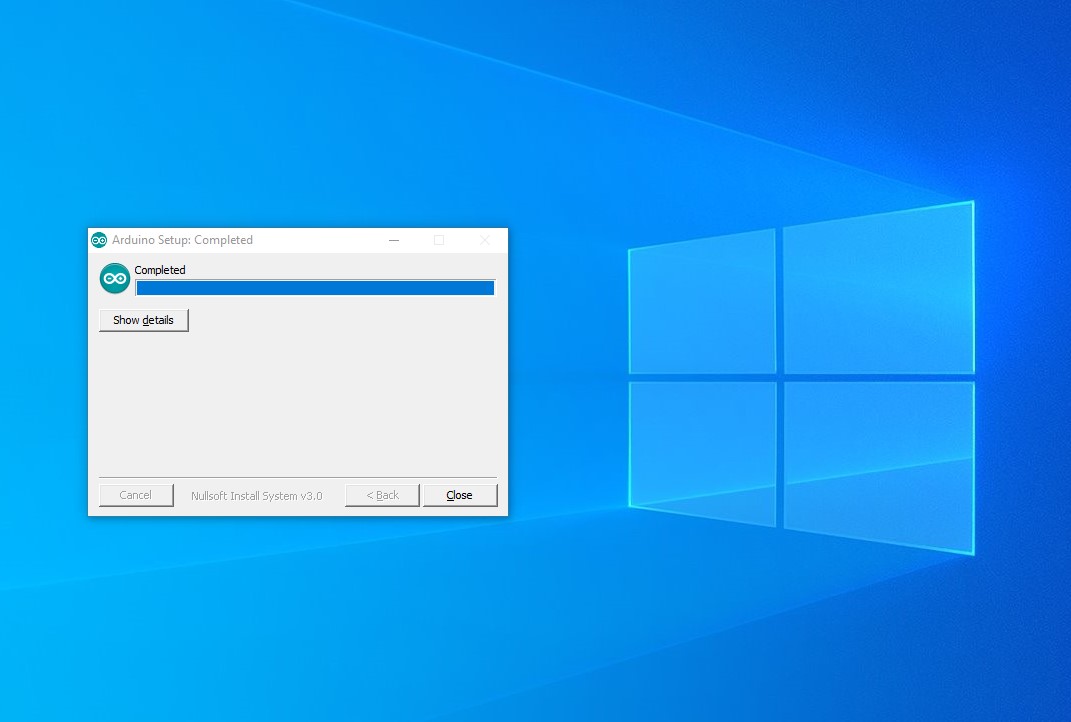
Save the downloaded installation file and start the setup.

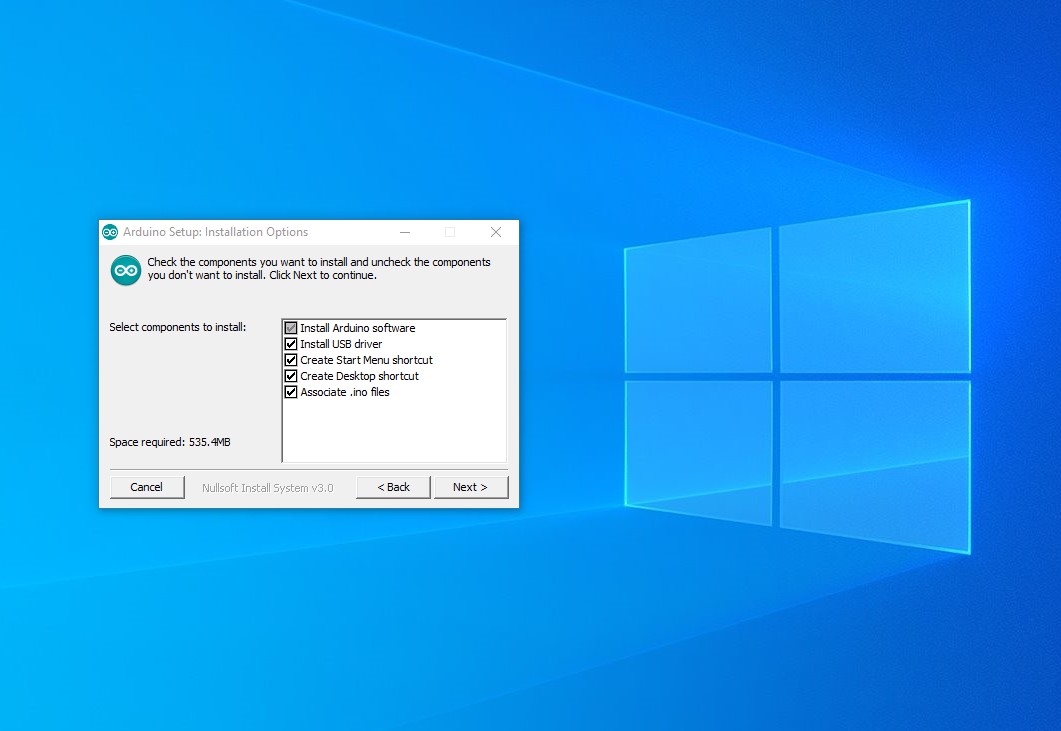
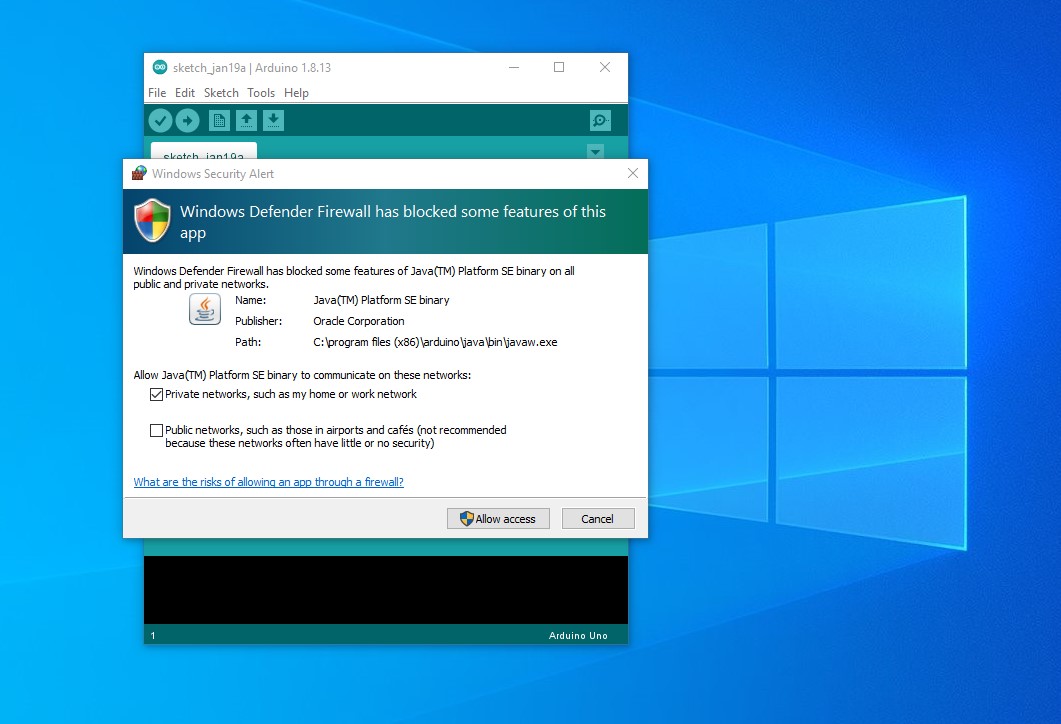
After successful installation please run the IDE and set permissions for the firewall if necessary.
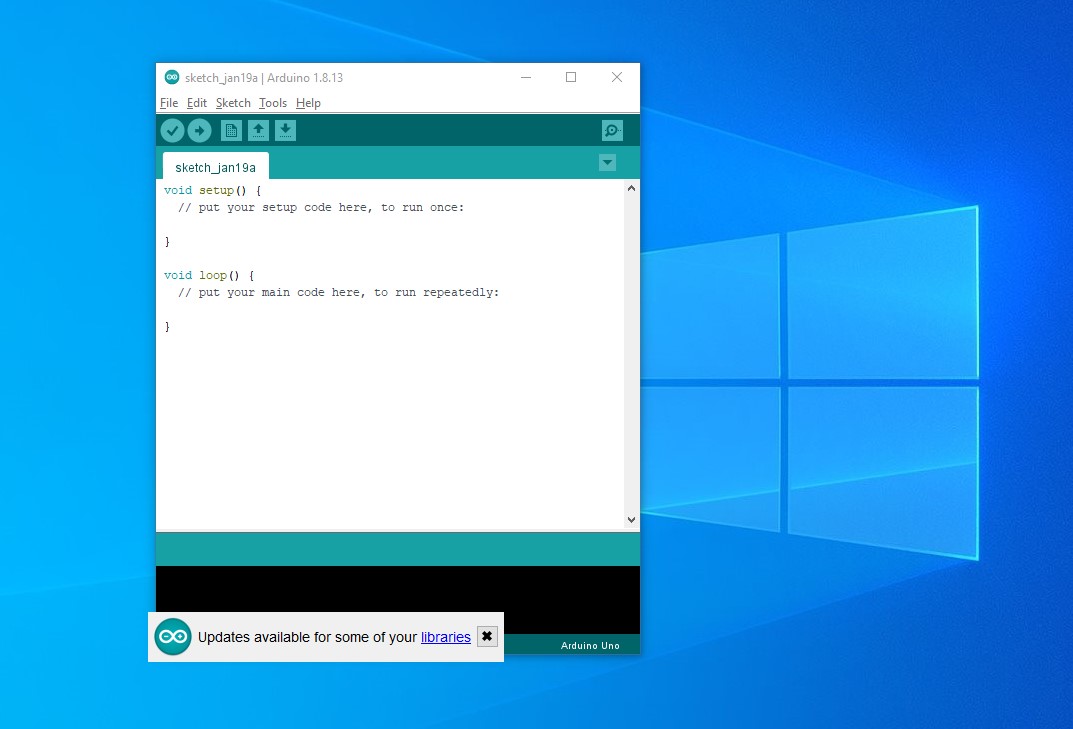
The GD32VF103 support can be installed now. For additional information please go to Arduino project HUB.
Step by step guide for adding GD32VF103 board support to Arduino IDE:
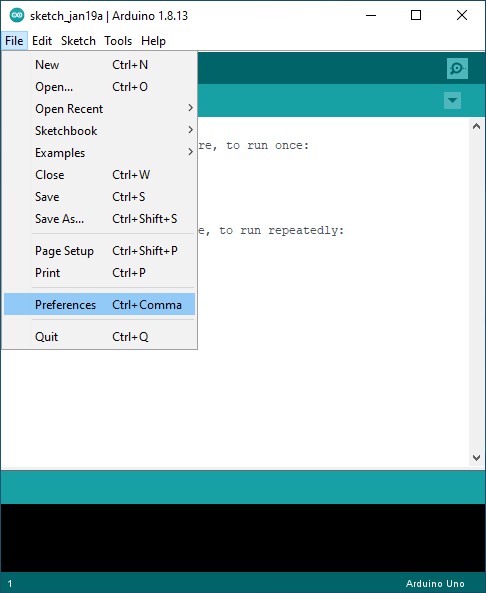
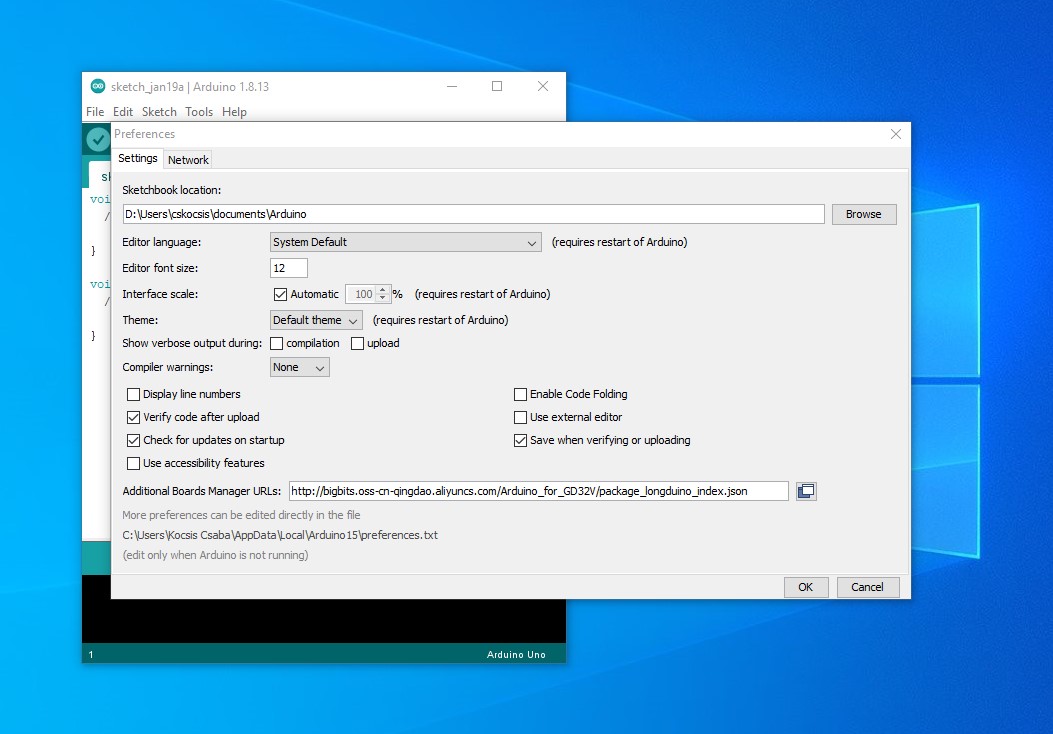
Open File → Preferences and on the „Settings” sheet, please copy below URL to Additional Boards Manager URLs.
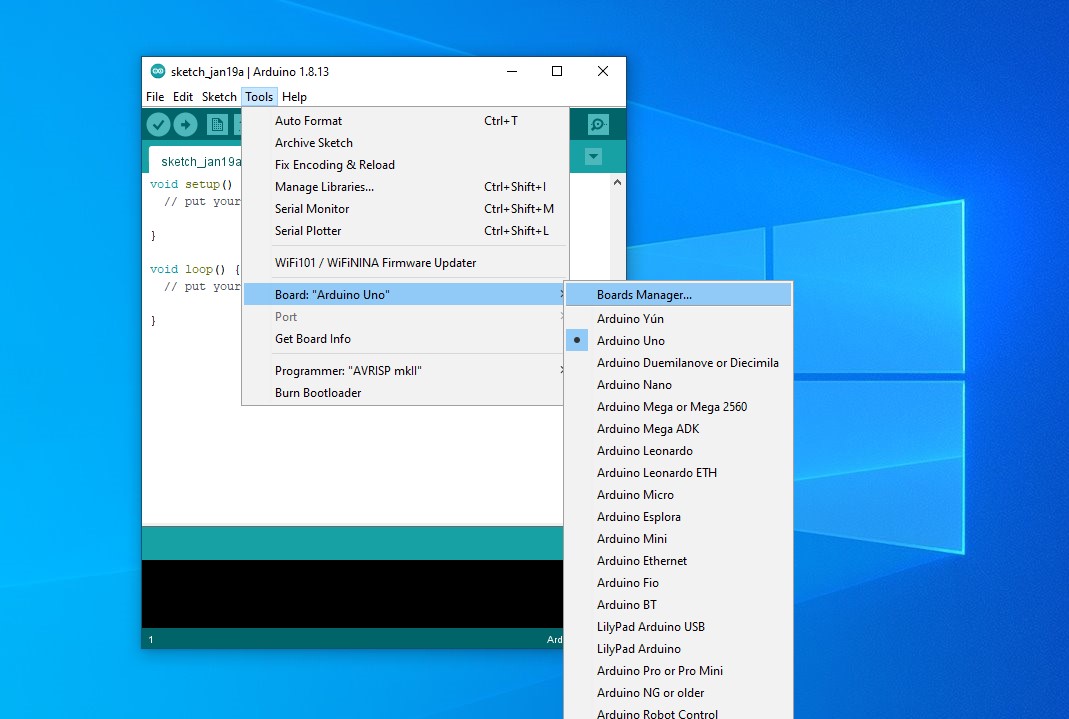
Please open Tools → Board → Boards Manager…
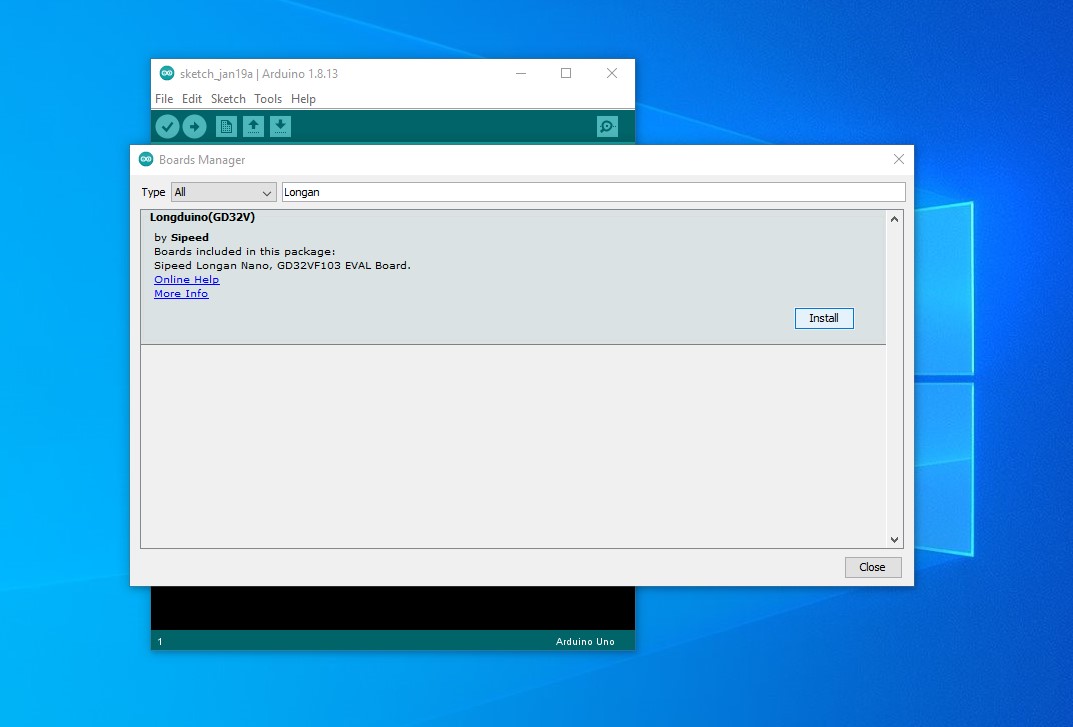
Please Install it, then the GD32VF103 board support package will be added to the Arduino IDE.

Before starting software development, choose the right board. (It is OK to select the Sipeed Longan Nano Board as our Endrich IoT SBC is compatible in basic functions to Longan.)
Tools → Board: → gd32vduino → Sipeed Longan Nano Board & Tools → Programmer → DFU GD32V
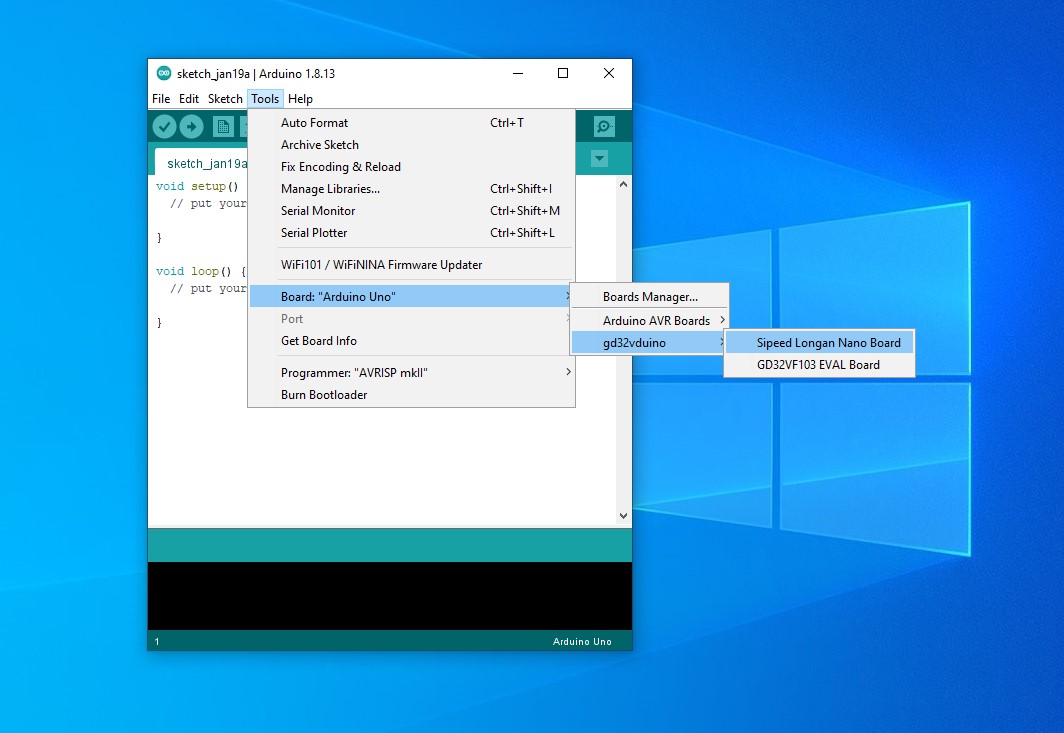
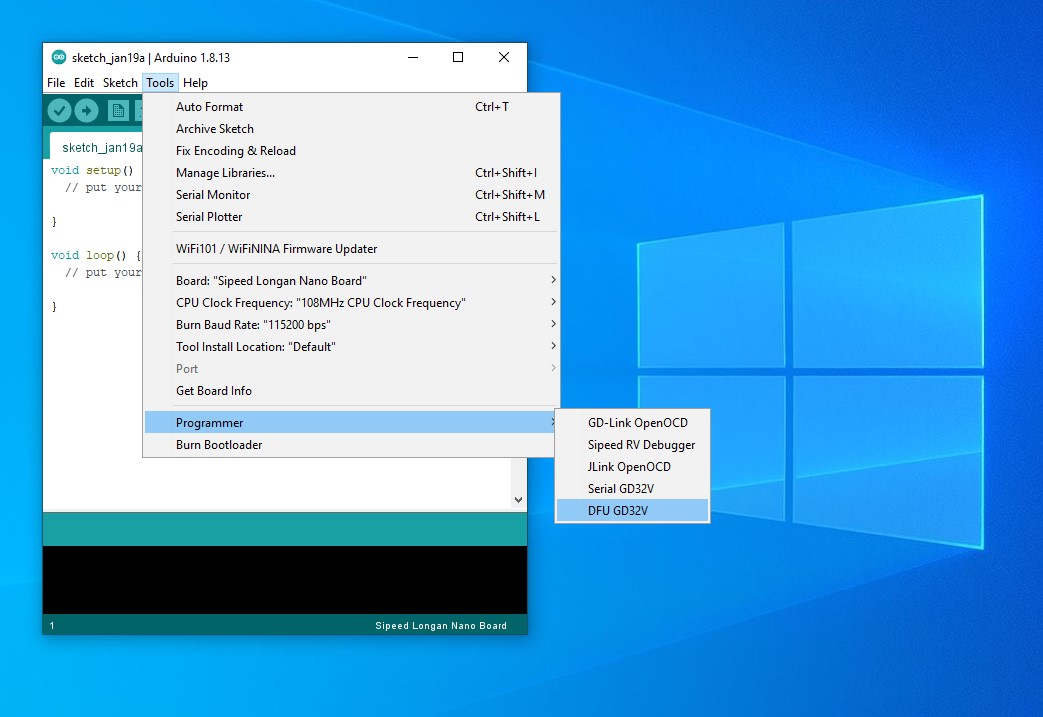
Now the IDE is ready to develop Sketch for Endrich IoT SBC Board.
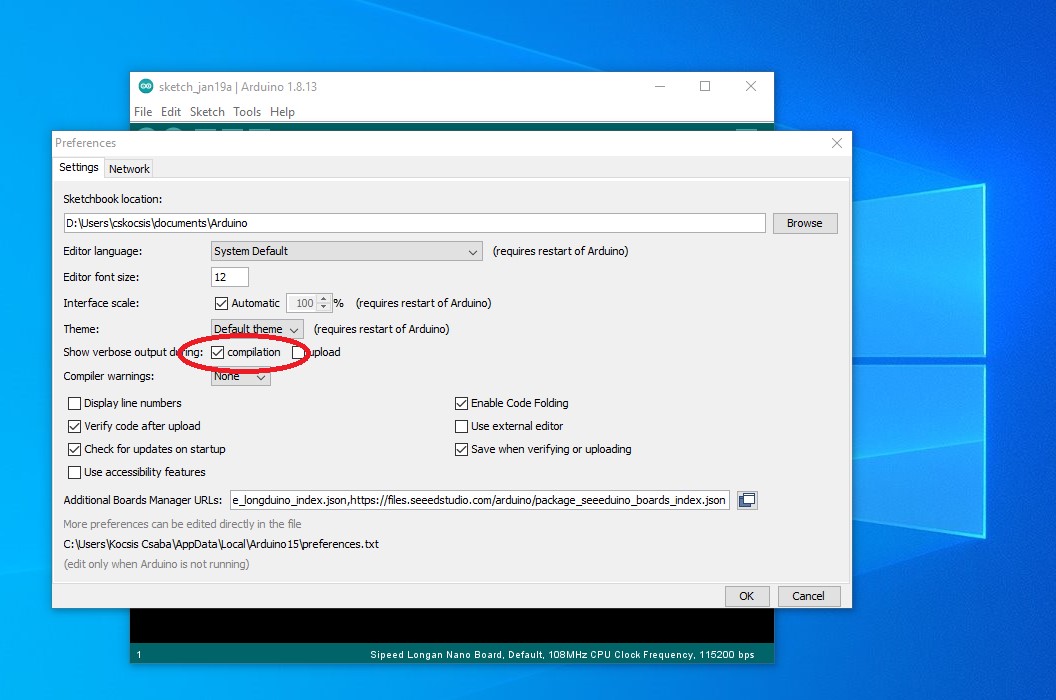
Check the checkbox “Show verbose output during compilation ☑” @ File → Preferences.
Please copy the below sample code from the gray area to the IDE and compile it.

Pressing the compile button (marked with an arrow) the task is generated.
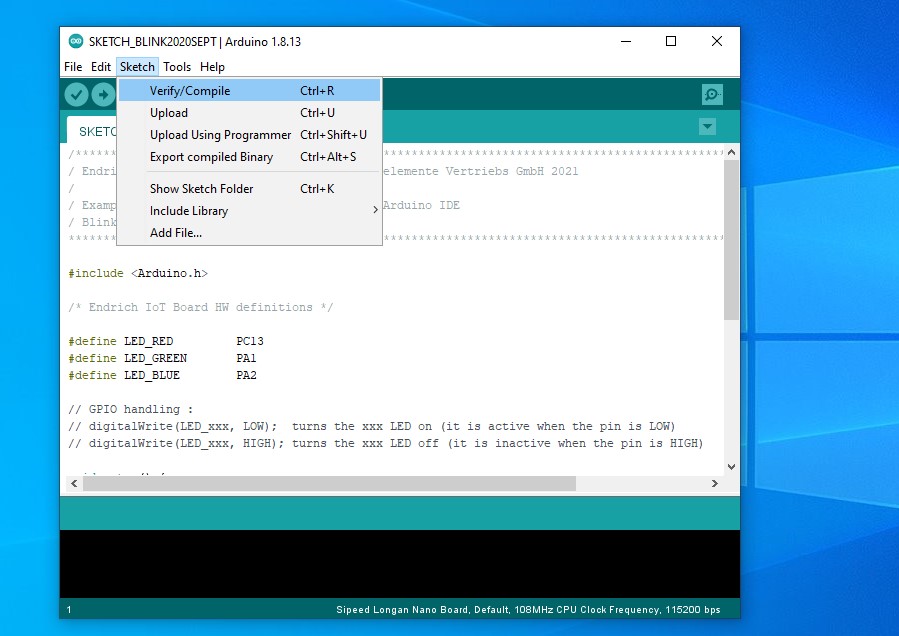
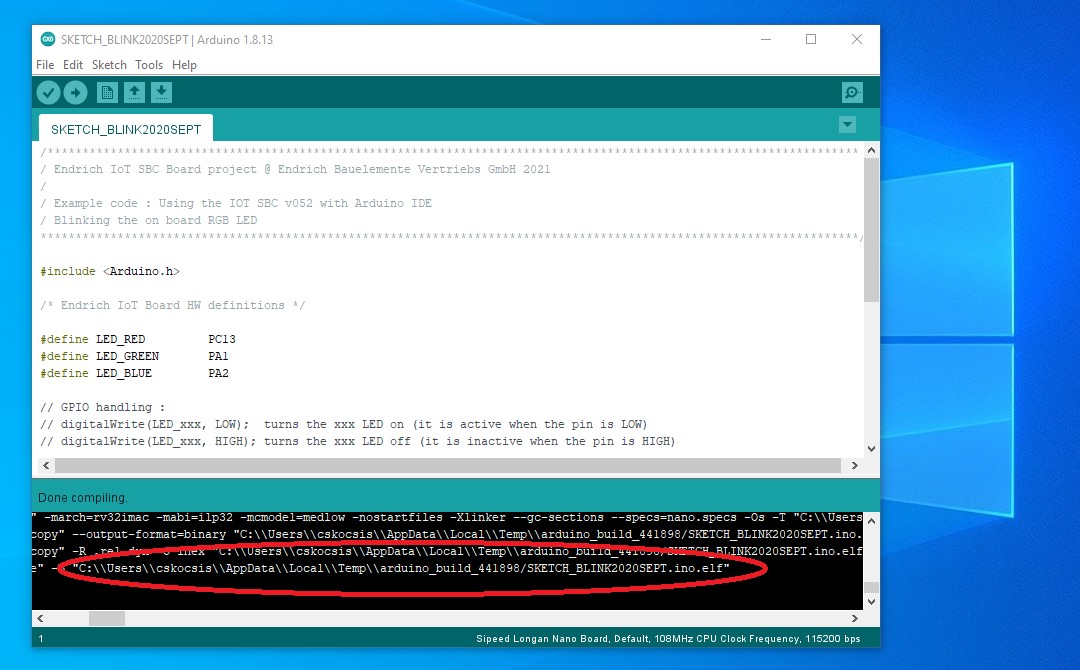
The binary files (*.elf *.bin *.hex) are placed in the below specified folder, from where user can download it to the board by Gigadevice’s DFU tool according to 4.3.
C:\Users\<USERNAME>\AppData\Local\Temp\arduino_build_<XXXX>\
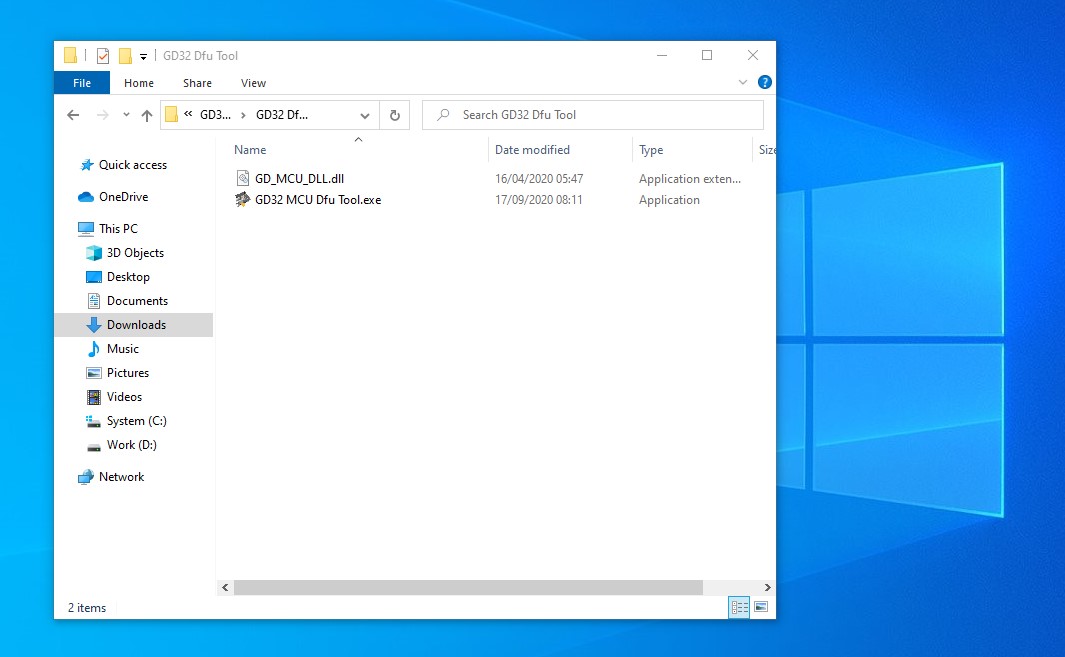
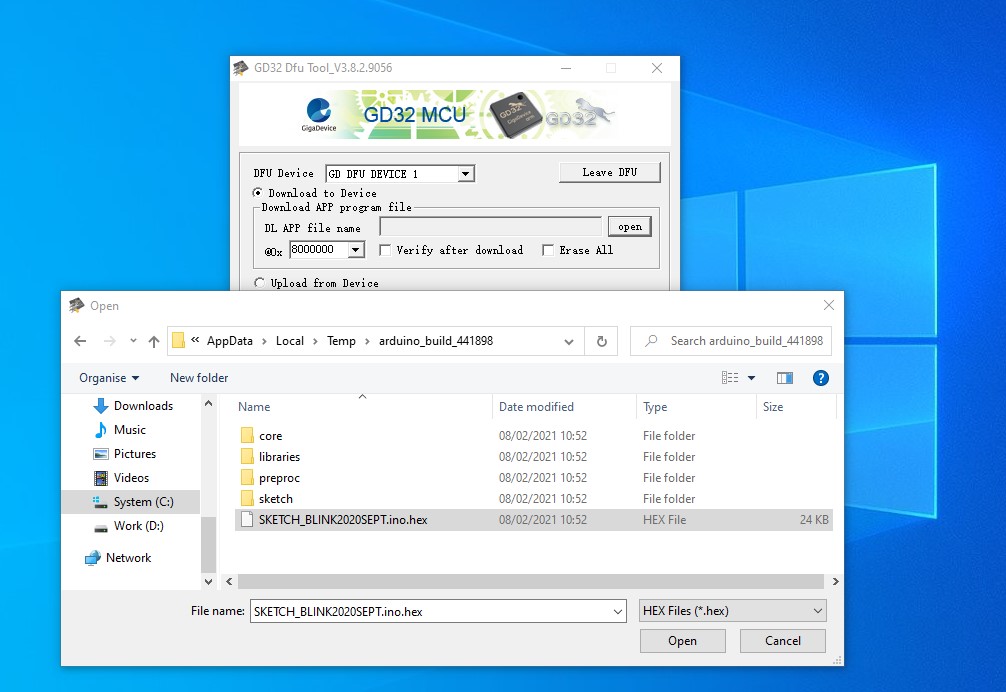
Run the “GD32 MCU Dfu Tool.exe” and browse to above file to download APP program file to the MCU

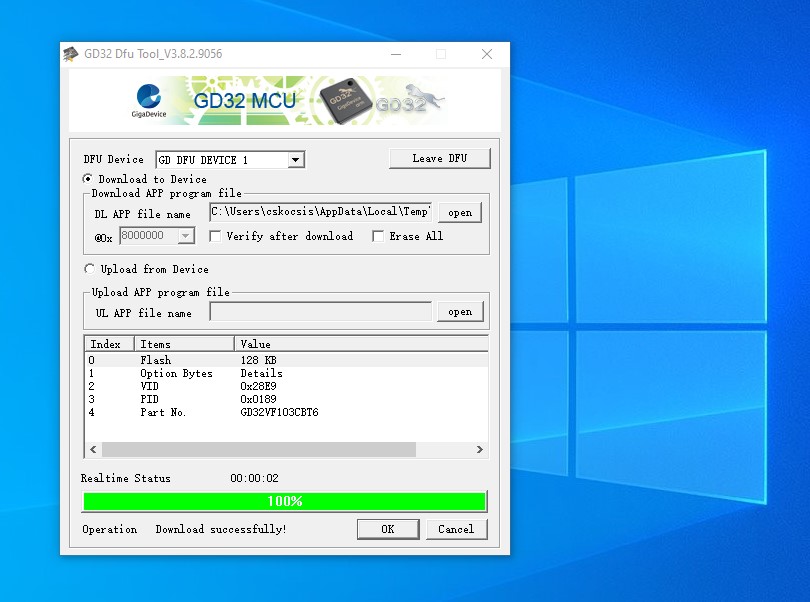
Once it is ready, please reset the IoT board by pressing the RESET button. The board leaves the DFU mode and the application starts and blinks the user RGB LED in different colors.
5.5 Other development platforms
There are several third-party development tools and environments to work with GigaDevice RISC-V platform. Some of them are commercial tools (with time or code size limited trials), some are based on free platforms such as Eclipse. We just make here a small overview of the possible tools :
The Arm® Keil Microcontroller Tools include C/C++ compilers, integrated development environments, RTOS, middleware, as well as debug adapters and evaluation boards for Arm Cortex®-M based devices.
IAR Embedded Workbench for RISC-V is a complete development toolchain providing one toolbox in one view, giving the developer one uninterrupted workflow. As a well-established frontrunner in the embedded industry, one can rely on IAR Embedded Workbench to compile, analyze and debug the MCU code in the most efficient way.
Nuclei Studio is GigaDevice’s preferred free, Eclipse based environment with integrated GCC and OpenOCD. It offers free portable executables, without installation. Easy-to-use project templates, integrated editor and in-system debugging and programming helps the developers. Integrated serial port tool and real time register display makes it easy to debug the code. We at Endrich can offer further help in setting up the environment for GD32VF microcontrollers.
embOS RISC-V Embedded Studio was developed for and with Embedded Studio for RISC-V and can be used with any RISC-V device. Board support packages for different RISC-V devices (including GD32VF103) and evaluation boards are included.
Embeetle is an IDE for embedded software. The developers can use it to edit C, C++ or assembly code, compile and link the code, flash it to the target microcontroller, run it and debug it. Instead of adding as many features as possible, Embeetle provides only the features the developers need for embedded programming and makes those features intuitive. This lets them focus on the project, instead of having to spend lots of energy trying to get the IDE to operate.
Embeetle and GigaDevice announced their official collaboration on end of 2020. The collaboration comprises both ARM and RISC-V based microcontrollers.